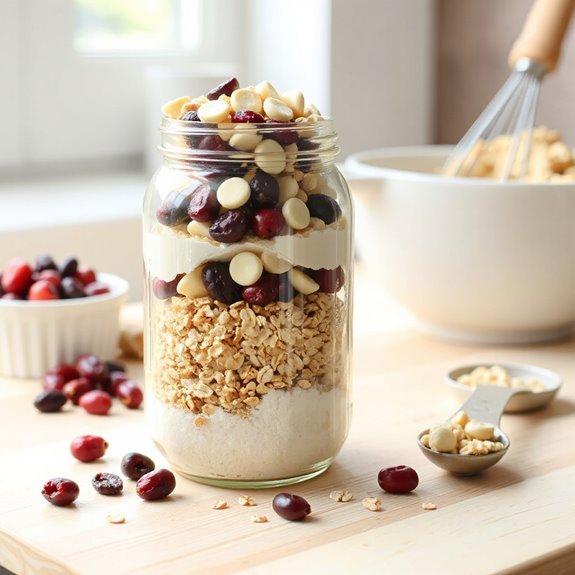
Looking for the *perfect* homemade gift that's both delicious and beautiful? This white chocolate cranberry cookie mix in a jar is a guaranteed hit, easy to assemble and oh-so-festive – let's get started!
Ingredients for Cookie Mix
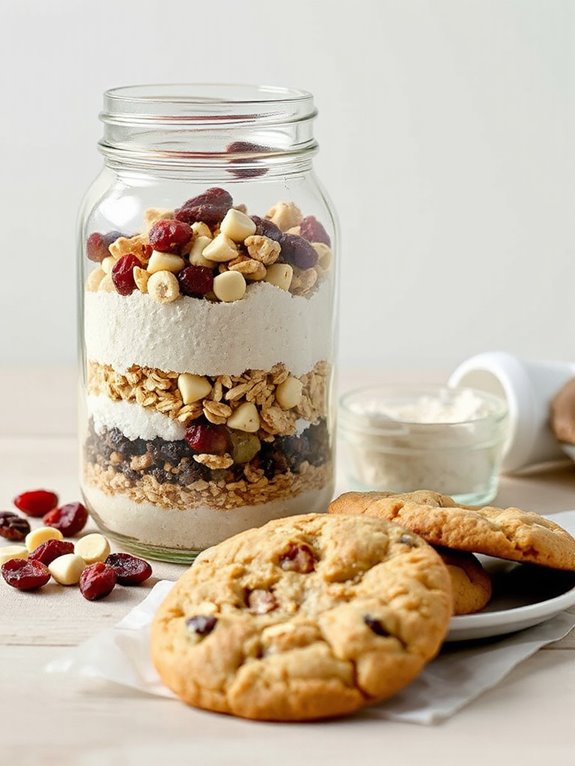
I'm going to tell you about what you will need to make the White Chocolate Cranberry Cookie Mix, and it really is a fabulous gift! You'll need a 1-liter mason jar—the kind that holds about 4 cups.
Grab 1/3 cup (70g) each of white and brown sugar; this is the sweet stuff that'll make everyone smile!
Next, you'll need flour, ¾ cup (113g) of the plain kind. Don't forget ¾ tsp of baking powder and ½ tsp of salt—because even cookies need a little balance!
Oats are next! You will need 1 cup (90g) of quick cooking oats. The oats in the recipe will add a pleasant chewiness to the final cookie.
And the stars of our show are 1 cup (120g) of dried cranberries and 1 cup (180g) of white chocolate chips—because what's a cookie without some chocolatey, fruity goodness? That is all you'll need!
Assembling the Jar
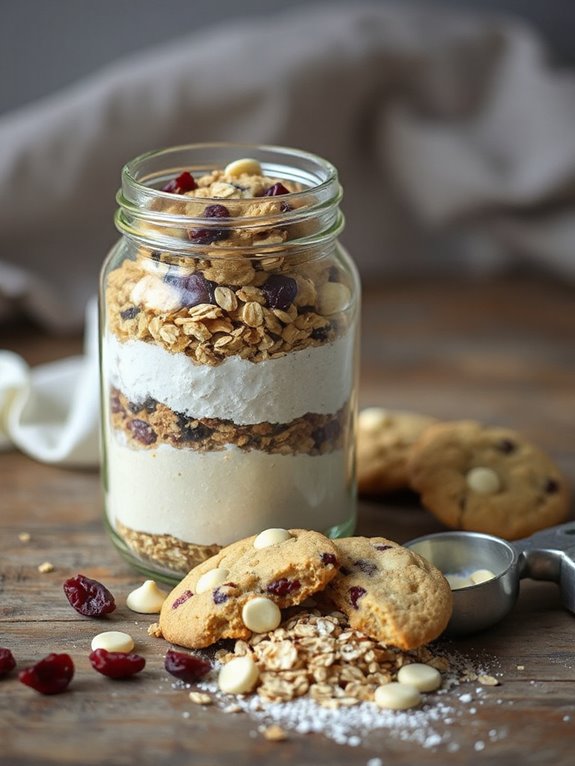
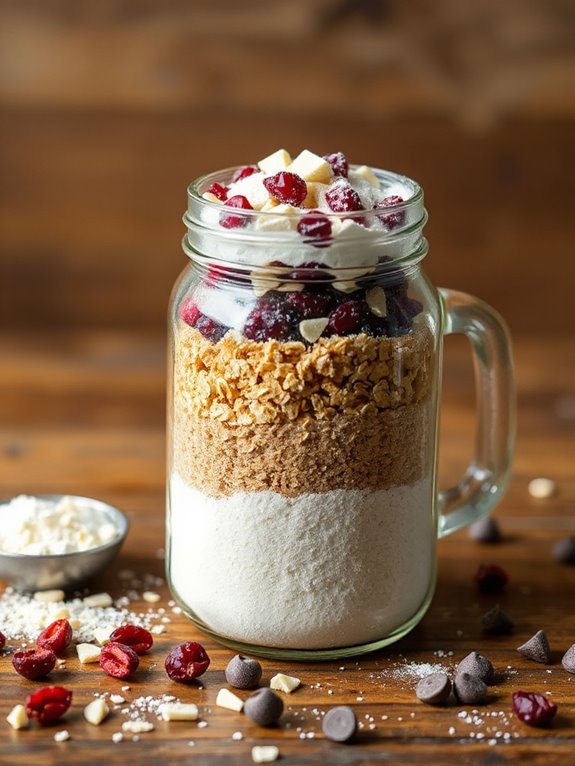
I hope your shopping trip to the store went well, because we're now getting ready to assemble our cookie mix jar! First, grab your clean, 1-liter mason jar; it's time to layer!
Start with 1/3 cup of white sugar, then add 1/3 cup of brown sugar—yum, already looking good! Now pour in ¾ cup of all-purpose flour, followed by ¾ teaspoon of baking powder, and then ½ teaspoon of salt. Almost there. Similar to the caramel-coated popcorn, this cookie mix will be a delightful treat.
Next up, measure out 1 cup of quick-cooking oats—the healthy bit—then carefully add 1 cup of dried cranberries. I love these, don't you?! Finally, top it off with 1 cup of white chocolate chips.
See how pretty the different layers look in the jar? That's it—now seal the jar tightly. Your gorgeous cookie mix in a jar is ready for gifting—or baking, of course!
Baking Instructions
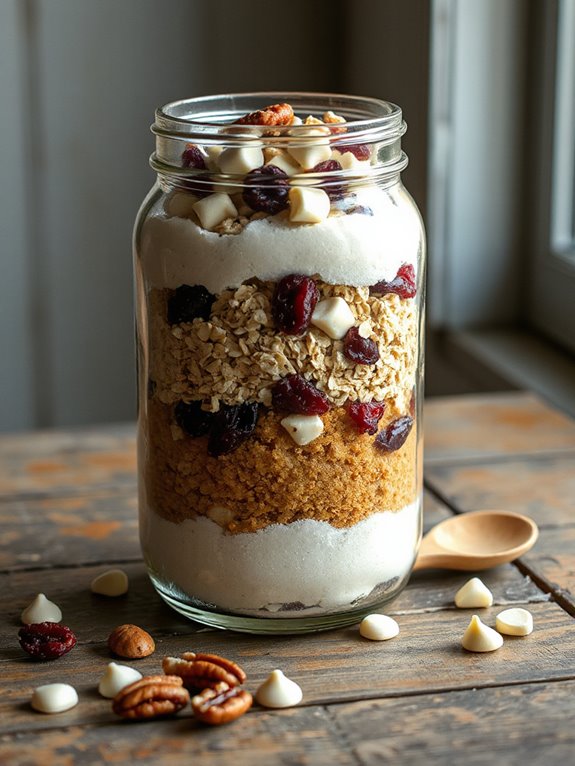
Once your mix is ready to go, let's get onto the good stuff: baking! First, check if your baking tray tends to stick—if it does, grease it lightly or use parchment. I usually skip this step because I'm daring! Preheat your oven to 375F/190C (standard) or 340F/170C (fan/convection).
Now, grab a bowl and dump in the cookie mix, melted butter, and egg. Mix it all with a wooden spoon and pop it in the fridge for 30 minutes. I know, patience is hard!
Scoop the dough with an ice cream scoop, flatten it a bit, and drop onto the tray—leave about 2 inches between them. Bake for 12-14 minutes if you want big cookies or 8-10 minutes for small ones, until lightly golden, and swap trays halfway through. Let them cool for 2 minutes, then transfer to a rack.
Recipe Notes
Flexibility is key here—feel free to swap out the cranberries and/or chocolate with other add-ins of your choice – nuts, raisins—whatever floats your boat!
This recipe isn't fussy. Don't worry too much about slight differences in measuring cups between countries—except if you're in Japan; use the weights I've provided then.
Take those cookies out when they're golden around the edges but still a bit soft on top. That's the sweet spot! Otherwise, they get crispy and, well, aren't quite as soft.
I adapted this recipe slightly from one by Thrifty Jinx. Credit where credit is due, right?!
The nutrition info you'll find is per cookie—assuming you make twelve big ones. Enjoy!
Short Recipe Version
White Chocolate Cranberry Cookies
Prep time: 15 minutes
Cook time: 10-12 minutes
Serving size: Approximately 24 cookies
Ingredients:
- 1 3/4 cups all-purpose flour
- 3/4 teaspoon baking soda
- 3/4 teaspoon salt
- 3/4 cup (1 1/2 sticks) unsalted butter, room temperature
- 3/4 cup granulated sugar
- 3/4 cup packed light brown sugar
- 2 large eggs
- 1 teaspoon vanilla extract
- 1 1/2 cups white chocolate chips
- 1 cup dried cranberries
Instructions:
- Preheat oven to 375°F (190°C).
- In a medium bowl, whisk together flour, baking soda, and salt.
- In a large bowl, cream together butter, granulated sugar, and brown sugar until light and fluffy.
- Beat in eggs one at a time, then stir in vanilla extract.
- Gradually add the dry ingredients to the wet ingredients, mixing until just combined.
- Stir in white chocolate chips and dried cranberries.
- Drop by rounded tablespoons onto ungreased baking sheets.
- Bake for 10-12 minutes, or until edges are golden brown.
- Let cool on baking sheets for a few minutes before transferring to a wire rack to cool completely.
Nutrition Information (per serving, estimated):
- Calories: 180
- Fat: 9g
- Saturated Fat: 5g
- Cholesterol: 25mg
- Sodium: 90mg
- Carbohydrates: 24g
- Sugar: 14g
- Protein: 2g
