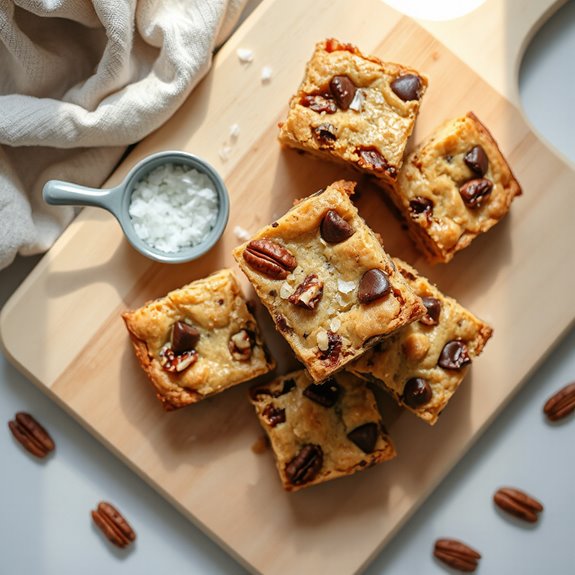
Get ready to sink your teeth into the chewiest, most irresistible blondies you've ever encountered! This ultimate blondie recipe is packed with rich flavors and guaranteed to become your new go-to dessert.
Ingredients
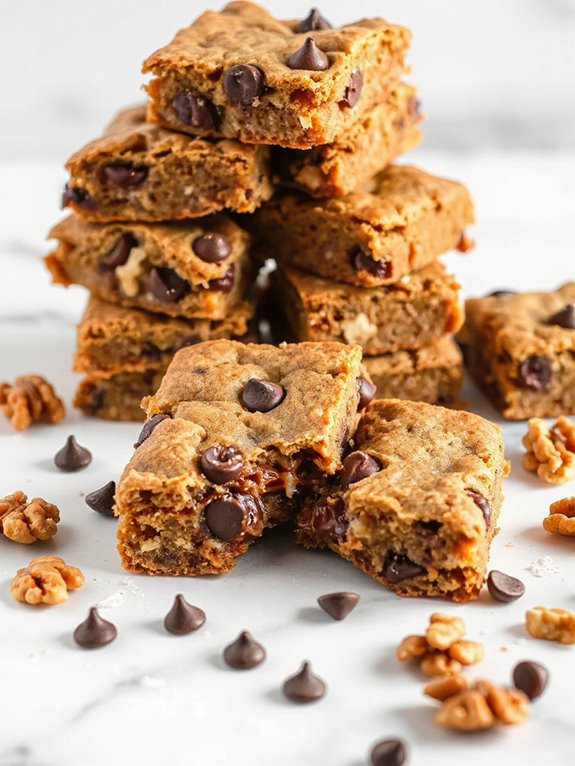
Here's what you'll need to whip up these awesome blondies—and trust me, it's all stuff you probably have hanging around!
First, you'll need 125g (that's 8 tablespoons) of unsalted butter. Don't skip out on browning the butter; it is important. Got light brown sugar? Great! One cup of it goes in next. Oh, and grab one large egg, too.
Now, toss in a teaspoon of vanilla extract. I can't wait! Next, we need 1 cup of all-purpose flour – plain and simple. Similar to shortbread, this recipe relies on simple ingredients for an impactful flavor. Add a 1/4 teaspoon of cooking salt, unless you've only got table salt; then, cut it in half.
Finally, pick your add-ins! I love white chocolate chips and walnuts (1 cup and 1/2 cup.) Don't forget a sprinkle of sea salt flakes if you're feeling fancy.
Getting Started
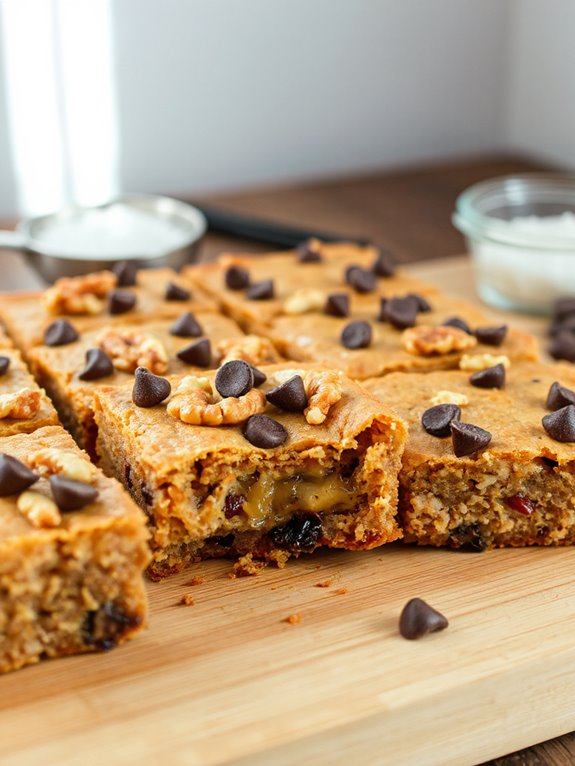
First, let's prep the oven because we're going to bake some blondie magic! Set it to 180°C (350°F) or 160°C (fan-forced) – and grease a 20cm/8" square pan with butter. Then, line it with baking paper; that's the parchment kind.
Now, toast the walnuts if you're using them. Spread them on a tray, pop 'em in the oven for about 5 minutes. Let them cool, we don't want burnt bits! Honestly, toasting nuts gives the flavor such a boost. Many peanut butter cookie recipes also highlight achieving the perfect cookie texture through specific baking techniques.
Next up, the browned butter. Don't you dare skip this! It's kinda the secret weapon!! Grab a saucepan – silver is best, so we can see what's up – and melt the butter. Simmer it gently for a bit, until it smells nutty, and you see golden specks. Pour that liquid gold into a bowl, every last bit!
Baking Instructions
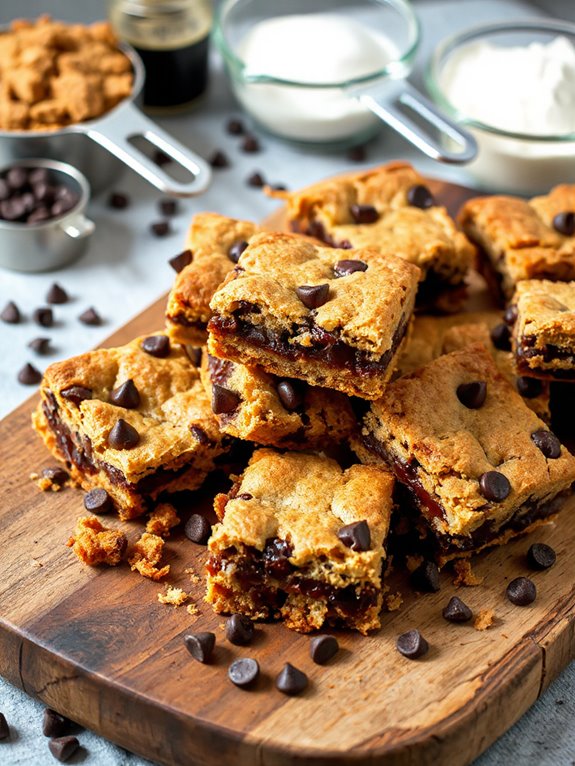
Now that you've got that browned butter ready, let's get to the good part – making the batter! Pour in the brown sugar, stir it with the hot butter using a wooden spoon 'til it's all mixed. Don't cheat, gotta let it cool for 3 minutes.
Then, crack in that egg, splash in the vanilla, and mix it all up! Next, toss in the flour and salt. Mix well – I know, it's thick! Like cookie dough! Don't worry, you're doing great!
Finally, chocolate chips and walnuts make your appearance! Stir them in. Now, it's oven time; scrape the batter into the pan, smooth it out with your hands – I always do!
Bake for 25 minutes. You're looking for lightly golden edges and a crackly top. Let it rest for 10 mins. Then indulge!
Recipe Notes
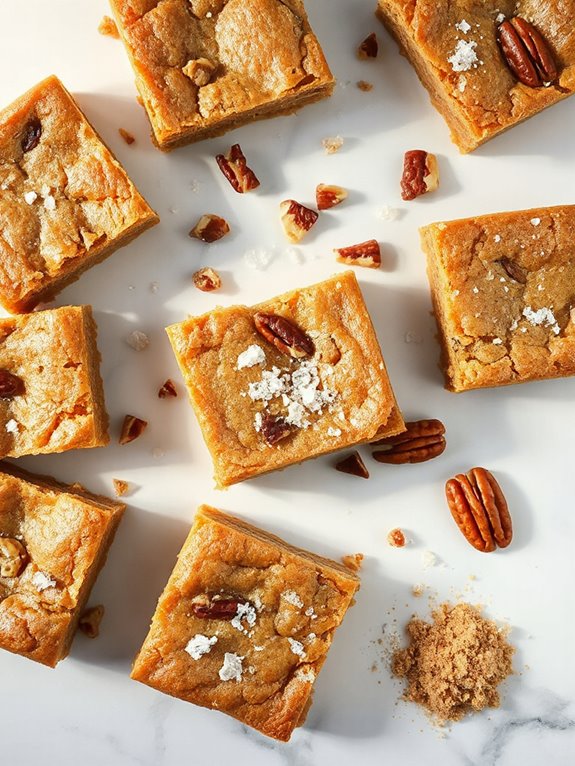
Okay, lemme tell you a bit more, like, butter – 1 US stick/8 tablespoons is really 115g, but this recipe is easy since it works with 125g! It's half a standard Aussie block, so just cut it!
Now, add-ins? I've got tons of ideas in the main post. White chocolate and walnuts – yum!
Chocolate chips, too – I've rounded up the quantity for convenience! One cup is 190g, but 200g packs are everywhere here, so just toss it all in – no complaints, I promise!
Toasting nuts is key. Seriously, pop them in the oven 'til they smell amazing. It boosts flavor and texture; it'll revive stale nuts, too!
Leftovers will keep for 5 days in an airtight container. If it's hot where you are, refrigerate. Always eat them at room temp, though! Enjoy!
Short Recipe Version
Ultimate Blondies Recipe (Concise)
Prep Time: 10 minutes
Cook Time: 25 minutes
Serving Size: 16 squares
Ingredients:
- 1/2 cup (1 stick) unsalted butter, melted
- 1 cup packed light brown sugar
- 1 large egg
- 1 teaspoon vanilla extract
- 1/4 teaspoon baking powder
- 1/4 teaspoon salt
- 1 cup all-purpose flour
- 1/2 cup chocolate chips
Instructions:
- Preheat oven to 350°F (175°C).
- In a bowl, combine melted butter and brown sugar.
- Beat in egg and vanilla extract.
- Add baking powder and salt. Gradually add flour, mixing until just combined.
- Stir in chocolate chips.
- Pour batter into an 8×8 inch baking pan.
- Bake for 25 minutes, or until a toothpick inserted into the center comes out with moist crumbs.
- Cool completely, then slice into squares.
Nutrition Information (per serving, estimate):
- Calories: 180
- Fat: 9g
- Saturated Fat: 6g
- Cholesterol: 30mg
- Sodium: 80mg
- Carbohydrates: 24g
- Sugar: 15g
- Protein: 2g
