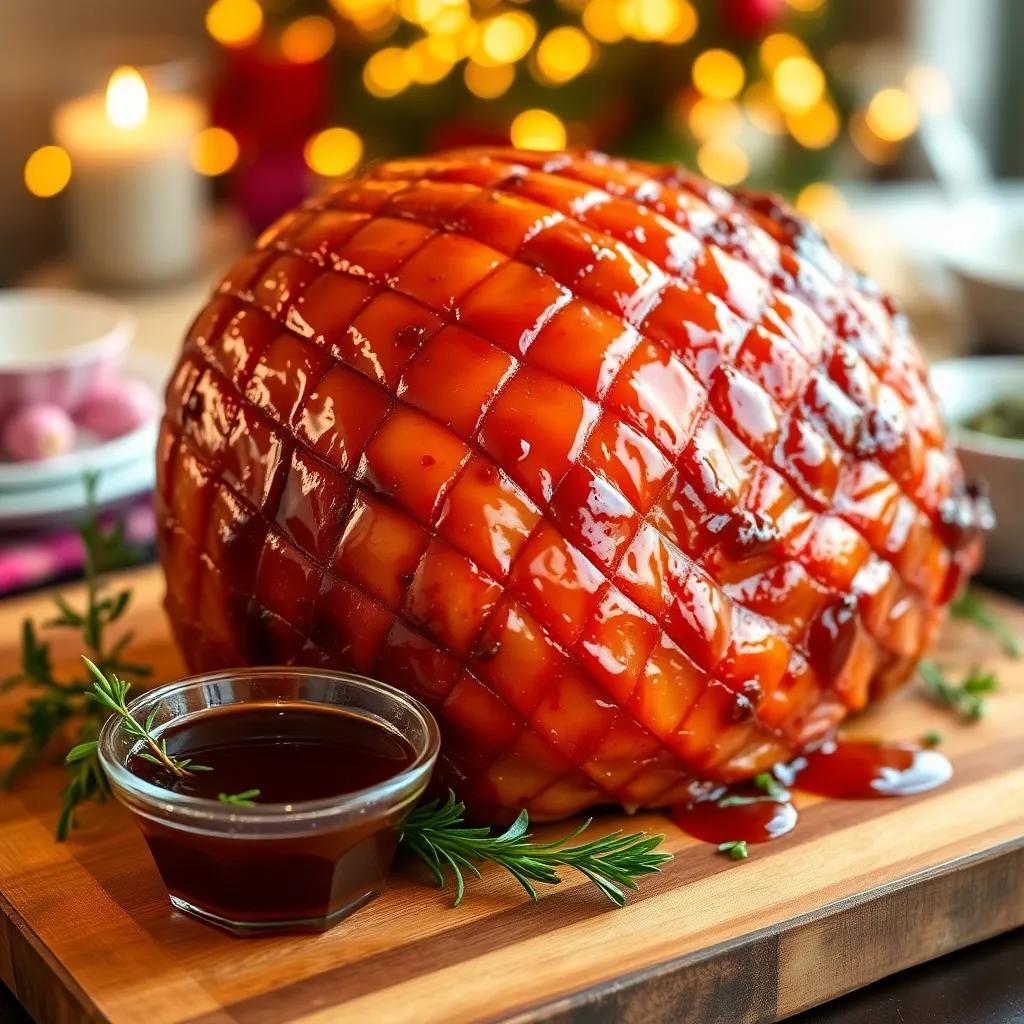
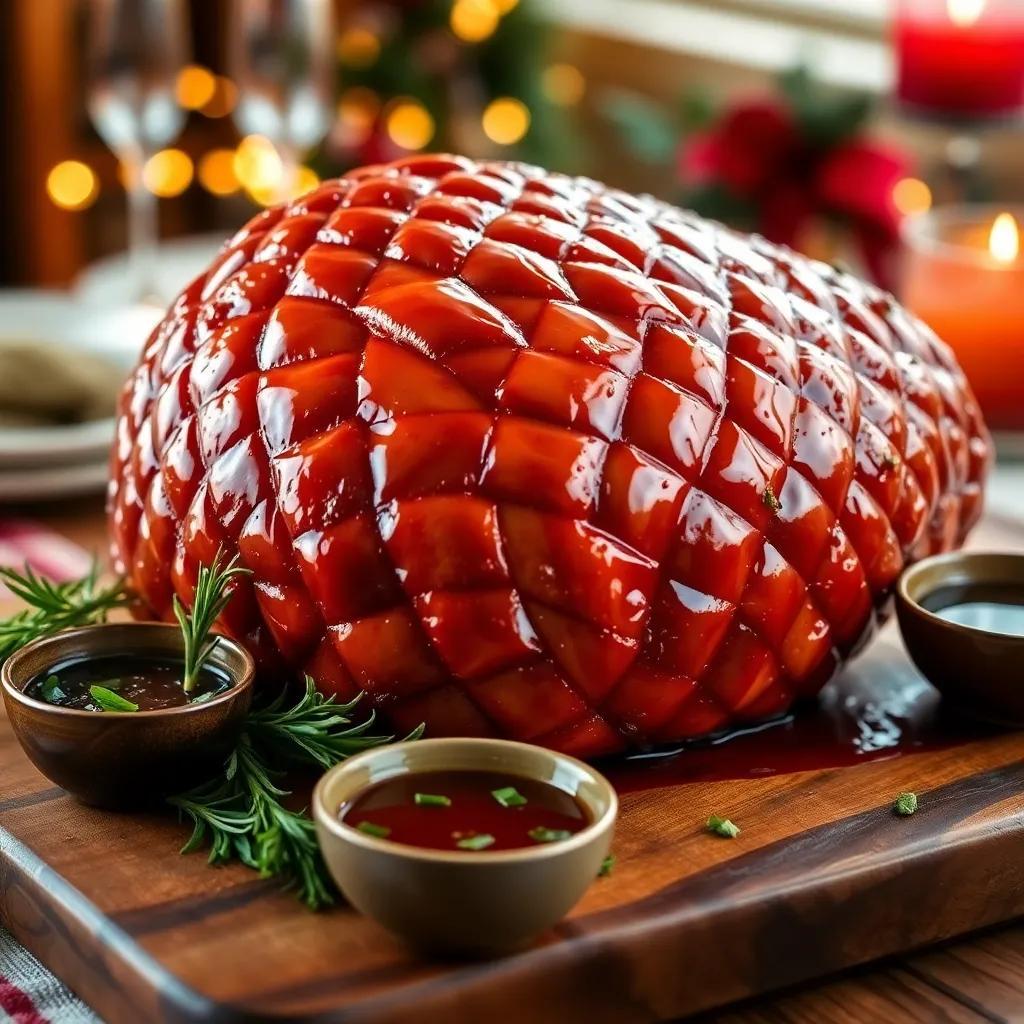
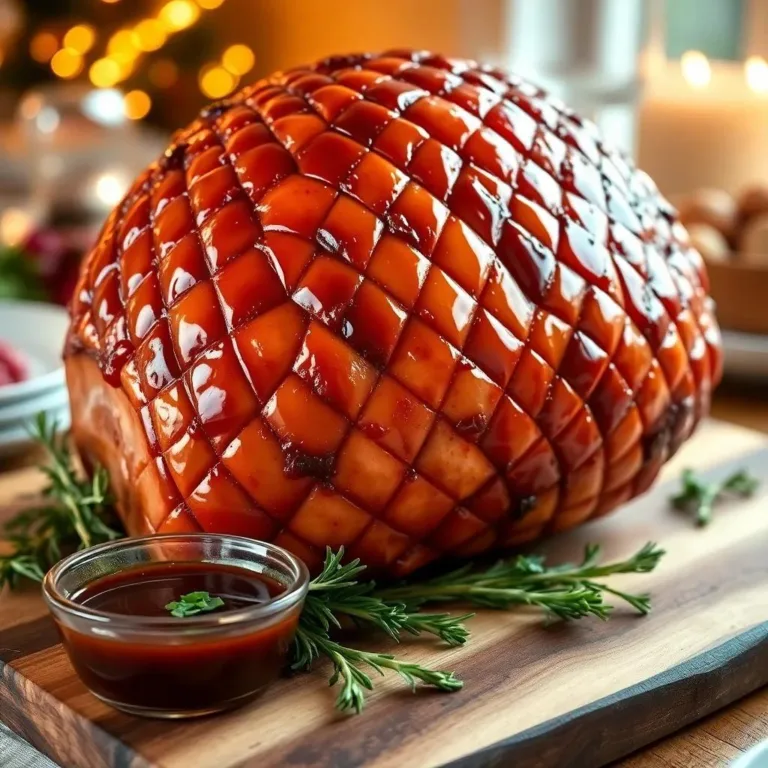
Are you ready to create a show-stopping ham that will wow your family and friends? With my Easy Brown Sugar Ham Glaze Recipe, you’ll learn how to choose the perfect ham, make a delicious glaze, and bake it to caramelized perfection! Let’s get started on this tasty adventure—your holiday table is about to get a whole lot more exciting!
Choosing the Perfect Ham for Glazing
When it comes to making a delicious glazed ham, the first step is picking the right ham. It’s like choosing the best canvas for your artwork! You want a ham that’s not just tasty but also has the right texture and flavor. Let’s break it down!
Key Considerations for Selecting Your Ham:
- Bone-In vs. Boneless: I love a bone-in ham! It not only looks more impressive on the table, but it also offers more flavor. Plus, the bone adds richness to soups later on. Boneless hams are easier to slice, but you might miss out on that yummy taste!
- Cooking Style: Always opt for a natural wood smoked ham. These hams are ready to eat, which means you don’t have to worry about cooking raw meat. Just glaze and bake away!
- Quality Matters: A good ham from a local butcher will have a meaty texture and a pure ham flavor. Supermarket hams might be injected with brine to pump up the juiciness, but sometimes they end up tasting more like rubber! Nobody wants that, right?
- Look for the Label: Check for labels like “premium” or “all-natural.” These hams are worth the extra bucks!
Ham Size Guide:
- Servings: Plan for about 200-300 grams (7-10 oz) of ham per person. So if you’re feeding a crowd, a 5 kg (10 lb) ham will serve around 15-20 people!
- Leftovers: Who doesn’t love leftover ham? If you buy a bigger ham, you can whip up all sorts of tasty dishes later, like ham sandwiches or a yummy chowder!
Choosing the right ham sets you up for a gorgeous glazed masterpiece! Trust me, when your friends and family see that beautiful ham on the table, they’ll be counting down the minutes until dinner!

How to Remove Ham Rind and Score the Fat
Removing the ham rind might sound a bit tricky, but trust me, it’s easier than it seems! The rind is that tough, rubbery skin that nobody wants to eat, so let’s get rid of it! Here’s how to do it step by step, so you can make your ham look fantastic.
Steps to Remove the Ham Rind:
- Cut Around the Handle: Start by cutting through the skin around the handle at the top of the ham. We want to keep that skin on the handle to help with carving later.
- Make Some Slits: Next, cut slits down each side of the ham. This will make it easier to peel off the rind in clean sections.
- Run Your Knife Along the Rim: Carefully run your knife in the gap between the rind and the fat. Don’t cut into the meat—just get under that skin!
- Use Your Fingers: Slip your fingers into the gap you created. Gently run your fingers back and forth while pulling the rind back. It should start to come off pretty easily.
- Pull It Off: As you pull the rind back, it might tear a little—that’s no big deal! Just keep peeling until you’ve cleared it all off.
Scoring the Fat:
After you’ve removed the rind, it’s time to score the fat. Scoring means cutting shallow diagonal lines into the fat layer, but don’t cut too deep! Here’s why:
- Caramelization: Scoring helps the fat render and allows the glaze to soak in better. You want those beautiful brown, caramelized bits!
- Pattern Style: Aim for a diamond pattern, cutting about 2.5 cm (1 inch) deep. It looks pretty and makes your ham stand out on the dinner table!
Now you’re ready for the next steps in creating a deliciously glazed ham! Removing the rind and scoring the fat not only makes your ham look great, but it also helps all those tasty flavors seep in. What a win!

Making the Brown Sugar Ham Glaze
Creating a Brown Sugar Ham Glaze is simple, and it’s the secret sauce that will make your ham the star of the show! This glaze is sweet, sticky, and oh-so-delicious! Let’s gather our ingredients and get started on this magical mixture.
Ingredients You’ll Need:
- 3/4 cup brown sugar: This is the star of our glaze, giving it that rich sweetness.
- 1/4 cup honey (or maple syrup): A touch of honey adds depth and keeps the glaze sticky.
- 1/4 cup Dijon mustard: This gives a zesty kick! Trust me; it balances the sweetness perfectly.
- 1/4 cup apple cider vinegar: A splash of vinegar adds a tangy twist.
- 1/2 teaspoon black pepper: Just a hint for some mild spice.
- Optional spices: If you like, add 3/4 teaspoon cinnamon and 1/2 teaspoon allspice. They add a warm, holiday flavor!
How to Make It:
- Mix the Ingredients: In a saucepan, combine the brown sugar, honey, Dijon mustard, apple cider vinegar, and black pepper. If you’re using optional spices, toss them in too!
- Heat It Up: Place the saucepan over medium-high heat. Stir often until the sugar dissolves and the mixture thickens slightly. This should take about 5-7 minutes.
- Glaze Away: Once the glaze is ready, it’s time to slather it all over your ham! Make sure to cover it generously, getting into all the nooks and crannies.
And there you have it! A simple, yet incredibly tasty ham glaze that transforms your dish into something truly special!
Baking and Basting for Perfect Caramelization
Now that you’ve got your ham glazed, it’s time to pop it in the oven and let that magic happen! Baking and basting properly will give your ham that gorgeous caramelized finish we all love! Let’s dive into my foolproof tips!
The Baking Process:
- Preheat the Oven: Set your oven to 160°C (320°F). This lower temperature is key to prevent burning and ensure even cooking!
- Level the Ham: Place your glazed ham on a rack in a roasting pan. Make sure it’s level so it carmelizes evenly!
- Add Moisture: Pour about 2 cups of water (or white wine or orange juice) into the roasting pan. This keeps the ham moist and prevents the drippings from burning.
- Bake: Place your ham in the oven and bake for about 1.5 hours. Remember to baste it every 20 minutes with the leftover glaze! The more you baste, the better the caramelization!
- Watch for Browning: If some areas are browning too quickly, don’t worry! Just cover those bits with a piece of foil.
The Final Touches:
When your ham reaches an internal temperature of 60°C (140°F), it’s ready to come out! Let it rest for about 15-30 minutes before slicing. This allows the juices to redistribute, making every bite tender and juicy!
Follow these steps, and you’ll have a beautifully glazed ham that everyone will rave about! Get ready for the compliments to roll in!

