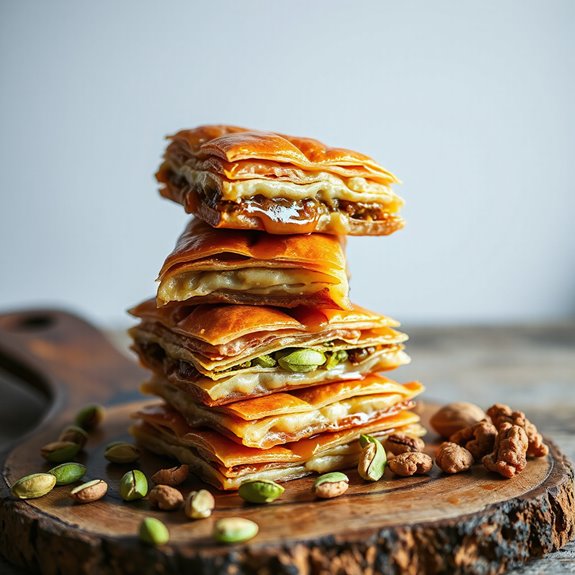
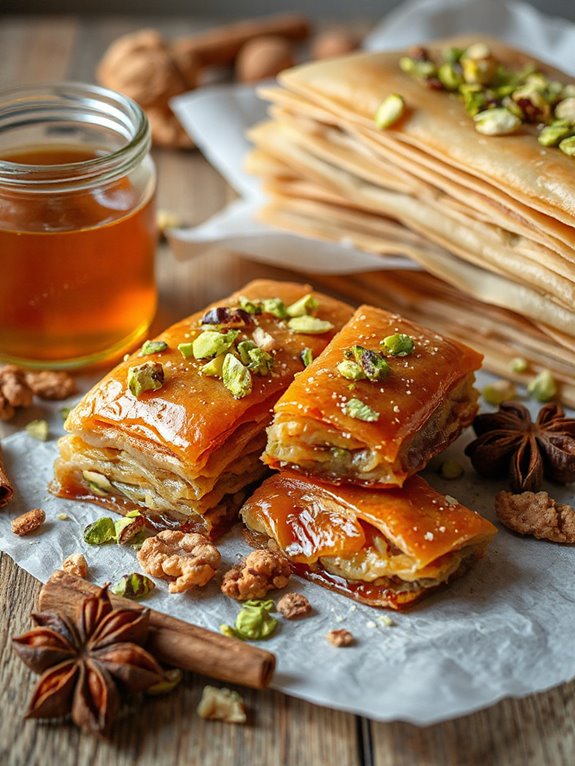
Prepare to embark on a culinary adventure where flaky layers meet a symphony of nuts and honey.
This baklava recipe, perfected over time, promises a taste of pure indulgence.
Get ready to create a dessert that will leave everyone speechless.
Ingredients
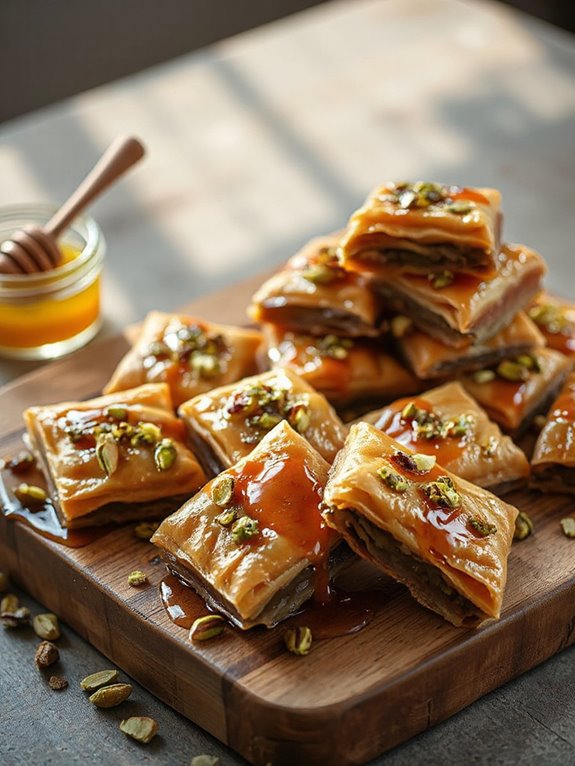
Let's investigate into the ingredients we're gonna need! We're talking 40 sheets of filo pastry—that's the flaky stuff that makes baklava so amazing. You'll want about 500g (or 1 lb) of walnuts; other nuts can work, but, trust me, walnuts are classic!
Next up, we've gotta melt—like, totally melt—285g (10 oz) of unsalted butter. Don't skip the cinnamon—1 tsp of that warm, spicy goodness! Much like the cinnamon, sugar, and butter combination found in cinnamon sugar tortilla crisps, this baklava uses cinnamon to enhance the flavor of the nuts.
For the syrup, we're gonna need 1 cup (200g) of white sugar plus 2 tbsp of lemon juice. I know, weird right? But trust me! Add to that 3/4 cup (185 ml) of water and 1/2 cup (170g) of honey. And hey, if you're feeling fancy, use local honey—it'll add an extra layer of yum!
Instructions
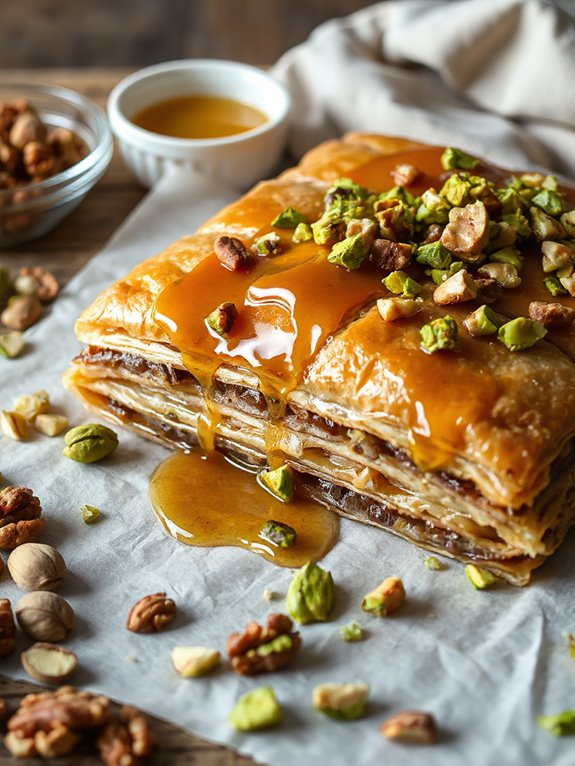
First, you're gonna need a 9×13" baking pan—that's the standard size, and it will make your baklavas perfectly! Make sure you've thawed your phyllo dough overnight in the fridge.
Now, chop those nuts! Pulse them in a food processor with cinnamon until they're fine crumbs. Don't let them turn to dust—we want some texture, y'know? Just as store-bought puff pastry simplifies the baking process, so too can using pre-chopped nuts save some time!
Alright, time to assemble! Preheat that oven to 325°F (160°C). Butter the pan—really get in there! Layer 10 sheets of phyllo, brushing each with butter. Spread ¾ cup of nuts. Repeat with phyllo and nuts three more times.
Last, top with 10 phyllo sheets, buttering each one. Cut the baklava into diamond shapes. Bake it for 1 hour to 1 hour 15 minutes until golden, prepare the syrup, and pour it over! Let it soak for at least 6 hours, preferably overnight. Trust me, it's worth the wait!
Recipe Notes
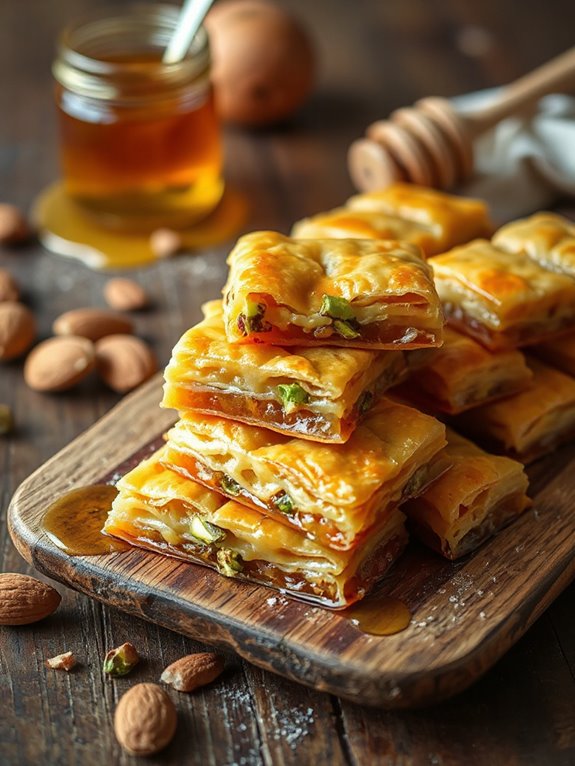
Now, before you get started, I want to share some key recipe notes to make sure your baklava turns out amazing!
First, filo pastry can be tricky. Don't worry if you're a bit short; just adjust the layers and use those off-cuts. Speaking of, if you're swimming in leftover pastry, spinach pie is your new best friend. Seriously, it's so good!
Next up: nuts! You can totally mix it up – walnuts, pistachios, almonds, go wild! Just pulse 'em in the food processor until they're crumbly- but not powder!
Cutting's the next hurdle. Watch the video — it's like performing surgery, but tastier. Stab a lil' then slice smooth and straight, got it?
Finally, storage. It gets better with age like a fine wine, so don't fret if it lasts. Okay, maybe not wine– baklava!
Nutrition Facts
Moving on from those notes, I want to chat about what's inside each delicious piece of baklava—the nutrition facts. Now, I know, it's dessert, but hey, gotta know what we're dealing with, right?
So, each piece packs around 319 calories. Don't faint! There's fat (23g), carbs (26g) – 'cause it's sweet. There's also a bit of protein (4g).
Let's break down more: saturated fat is 7g, and there is cholesterol (25mg). Sodium isn't too bad at 93mg. You'll also find tiny amounts of potassium, fiber, plus vitamins! I wouldn't call it a health food – that's not its job.
It's about enjoyment. Treat yourself! I even give conservative estimates, since my recipe makes extra cook's treats lying around!
Short Recipe Version
Prep Time: 30 minutes
Cook Time: 45 minutes
Serving Size: 24
Ingredients:
1 pound filo dough
1 cup (2 sticks) unsalted butter, melted
1 cup chopped walnuts
1 cup chopped pistachios
1/2 cup granulated sugar
1 teaspoon ground cinnamon
Syrup:
1 cup water
2 cups granulated sugar
1/2 cup honey
1 tablespoon lemon juice
Instructions:
- Preheat oven to 350°F (175°C).
- Combine nuts, sugar, and cinnamon.
- Butter a 9×13 inch baking pan.
- Layer half the filo dough, brushing with butter between each sheet.
- Spread nut mixture evenly.
- Layer remaining filo dough, brushing with butter between each sheet.
- Cut into diamond shapes before baking.
- Bake for 45 minutes, or until golden brown.
- While baking, combine syrup ingredients in a saucepan and simmer for 10 minutes.
- Pour syrup evenly over baked baklava.
- Let cool completely, preferably overnight, before serving.
Nutrition Information (Per Serving – Estimated):
Calories: 350
Fat: 20g
Saturated Fat: 10g
Cholesterol: 45mg
Sodium: 50mg
Carbohydrates: 40g
Sugar: 30g
Protein: 5g
