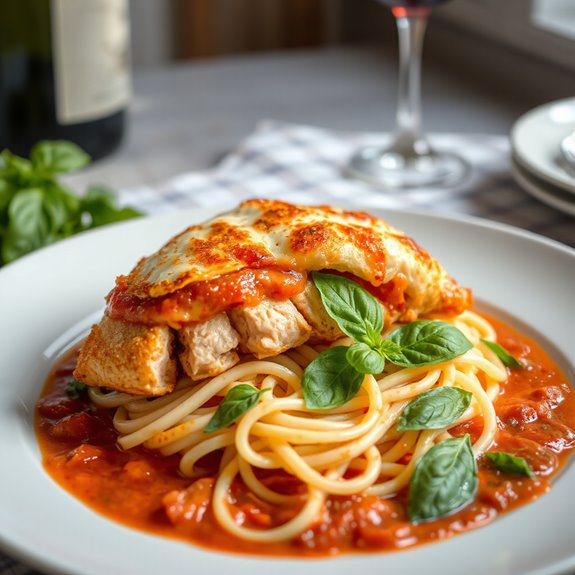
Craving restaurant-quality Chicken Parmigiana without the restaurant price?
Prepare to learn the surprisingly simple secrets behind achieving perfectly juicy chicken and a sauce so good, you'll want to bottle it!
Get ready to unlock the flavors that will make this your new go-to recipe.
Brining and Preparing the Chicken
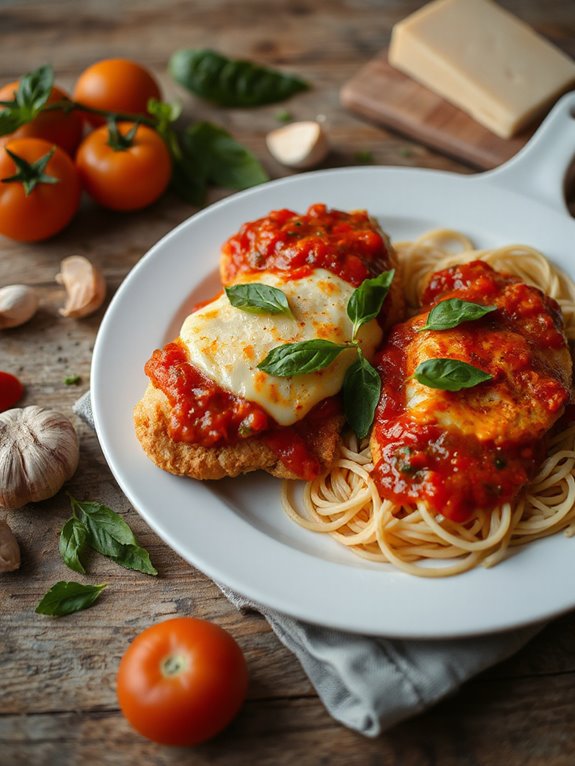
First, we're gonna dry brine the chicken—this is our secret to super juicy chicken, even after we cook it twice as it acts like a marinade but won't make the crumb soggy!
Halve your chicken breasts horizontally, so you get six pieces. Now, sprinkle both sides with one teaspoon of cooking salt—or three-quarters of a teaspoon of table salt, if that's what you've got. Add half a teaspoon each of black pepper and Italian mixed herbs. The balance of herbs and spices is key, similar to the way Italian seasoning enhances the flavor of a chicken marinade.
Pop the chicken in the fridge for about thirty minutes. This'll work its magic.
Next, set up your breading station—it's like a little assembly line of deliciousness! You'll need flour, the egg mixture, and breadcrumbs—we'll talk about that in a moment. Don't get too excited now!
Making the Parmigiana Sauce
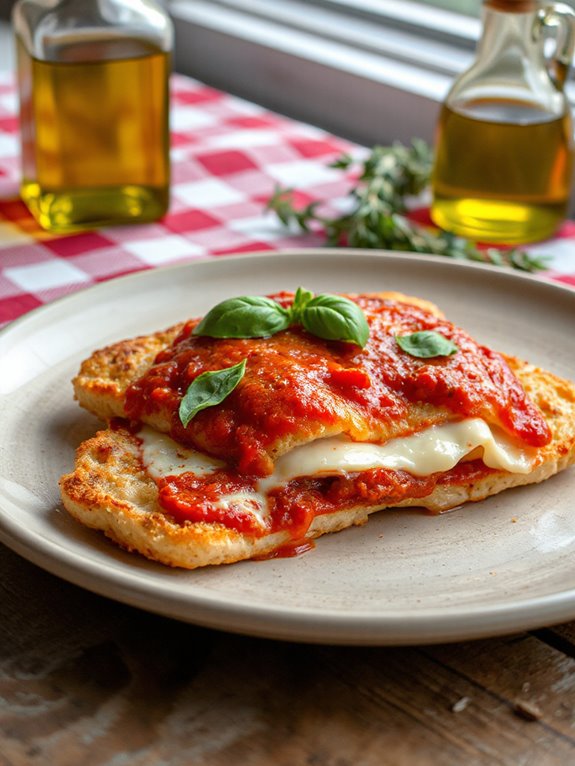
Now, I will guide you through making the parmigiana sauce–this will add a ton of flavor to the recipe! First, I heat olive oil in a saucepan, then I add minced garlic and chopped onion. Easy, right? I cook 'em until the onion's clear–about 3 minutes. An authentic parmigiana sauce, like a good cacciatore, builds flavor through slow cooking.
Next: red pepper flakes and Italian herbs! I stir for 15 seconds, then add the white wine! I turn up the heat and let that simmer until the wine smell is gone—trust me, you don't want winey sauce! I then add tomato passata.
- Chicken stock.
- Salt.
- Pepper.
- Cover the pan.
I want you to simmer on low for 10 minutes, thickening that flavor! Now, keep it warm! I always thought that the aromatics smell the best.
Bread Crumbing
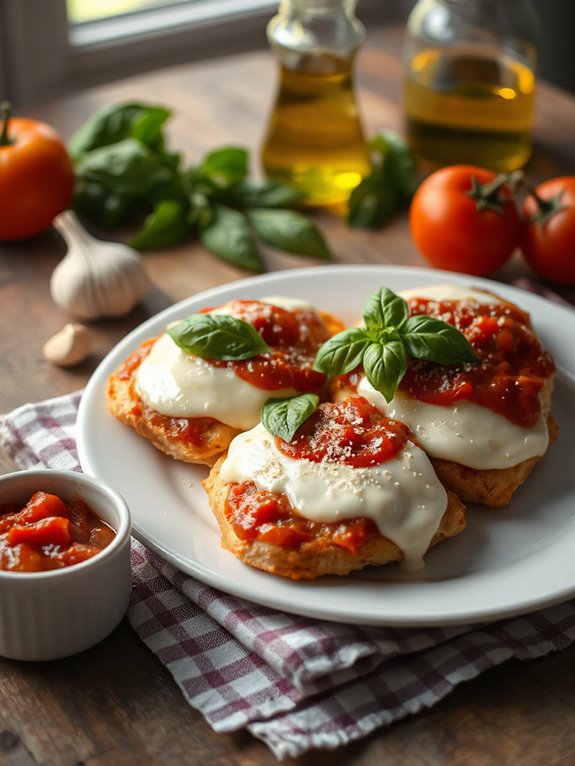
Before we launch into frying, let's get our chicken nice and crumbed! First, set up three shallow bowls–one with 1/3 cup of flour, another with your egg dredge (2 eggs, garlic, salt, pepper, and Italian herbs), and the last with your breadcrumb mix!
For the breadcrumbs, I use 1 1/2 cups of panko–they're the best for extra crunch, trust me! Then, add 1/2 cup of finely grated parmesan, 1/2 tsp of salt, and 1/4 tsp of pepper to that mix!
Now, it's time. Dredge each chicken piece in flour, shaking off the extra, then dunk it in the egg! Let the extra drip off–we don't want soggy cutlets! Finally, press it into the breadcrumbs–really coat it! Repeat for each piece! We're almost to the frying pan now, excitement is brewing I can tell!
Assembling and Baking
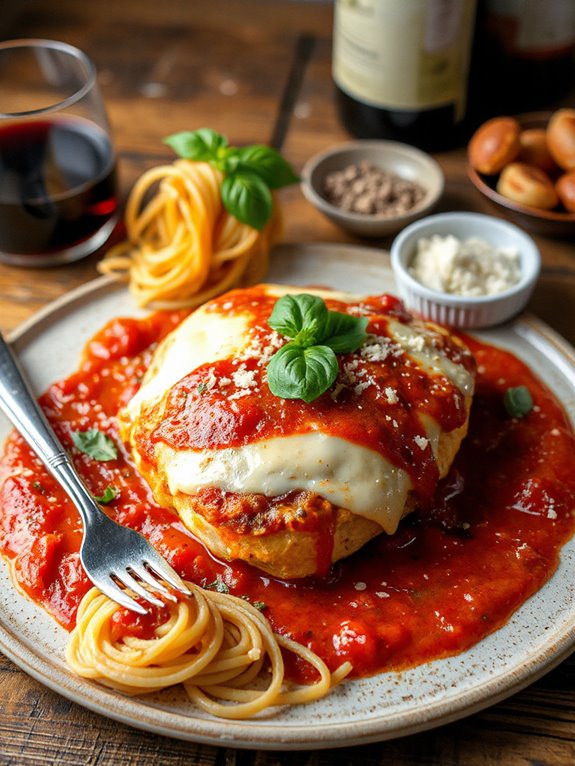
Now that we've got our crispy chicken ready, it's time to assemble and bake our Chicken Parm—and trust me, it's the home stretch to the perfect plate of comfort food! Place your fried chicken cutlets on a baking tray. Now, for the fun part! I usually spoon about 1/3 cup of that glorious sauce, but don't drown it completely—we want those crispy edges to stay crispy, ya know? Then, I like to follow your gut:
- Sprinkle with fresh basil.
- Pile on the mozzarella.
- Dust with parmesan.
- Drizzle with olive oil.
Bake for about 15 minutes in a 180°C/350°F oven. We want the cheese melted and bubbly, maybe with a few golden-brown spots. Keep an eye on it, though! You'd hate it if you overcooked your chicken. Sprinkle with extra basil, and serve immediately! I suggest you add the leftover sauce and some more mozzarella and parmesan. I am drooling as I write this! Yum!
Short Recipe Version
Chicken Parmigiana Recipe (Short Version)
Prep Time: 20 minutes
Cook Time: 30 minutes
Servings: 4
Ingredients:
- 4 boneless, skinless chicken breasts
- 1 cup all-purpose flour
- 2 large eggs, beaten
- 2 cups breadcrumbs
- 1 cup grated Parmesan cheese
- 1 teaspoon dried oregano
- 1 teaspoon dried basil
- 1/2 teaspoon garlic powder
- Salt and pepper to taste
- 1/2 cup olive oil
- 2 cups marinara sauce
- 8 ounces mozzarella cheese, shredded
Instructions:
- Preheat oven to 350°F (175°C).
- Prepare three shallow dishes: one with flour, one with beaten eggs, and one with breadcrumbs mixed with Parmesan cheese, oregano, basil, garlic powder, salt, and pepper.
- Dredge each chicken breast in flour, then dip in egg, and finally coat with breadcrumb mixture.
- Heat olive oil in a large skillet over medium heat. Cook chicken breasts until golden brown on both sides, about 3-4 minutes per side.
- Place chicken breasts in a baking dish. Top each with marinara sauce and mozzarella cheese.
- Bake in the preheated oven for 15-20 minutes, or until cheese is melted and bubbly and chicken is cooked through.
Nutrition Information (Per Serving – Estimated):
- Calories: 650
- Protein: 55g
- Fat: 35g
- Carbohydrates: 30g
