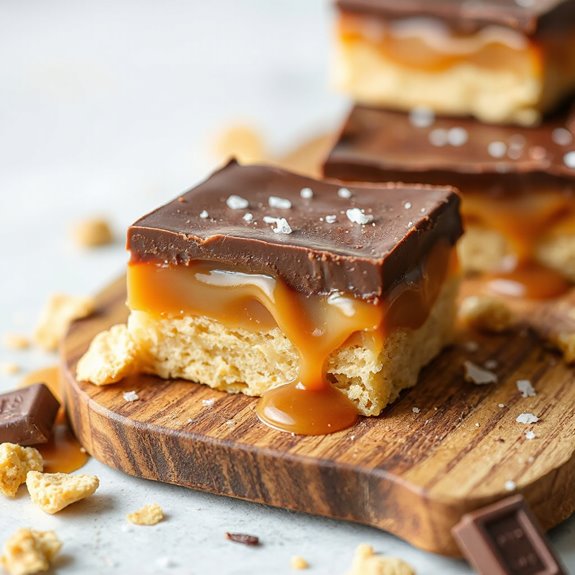
Craving a slice of heaven?
Prepare to embark on a caramel slice adventure, where we conquer the secrets to achieving that irresistible, gooey caramel perfection.
Let's turn up the heat and dive into this delectable recipe!
The Base
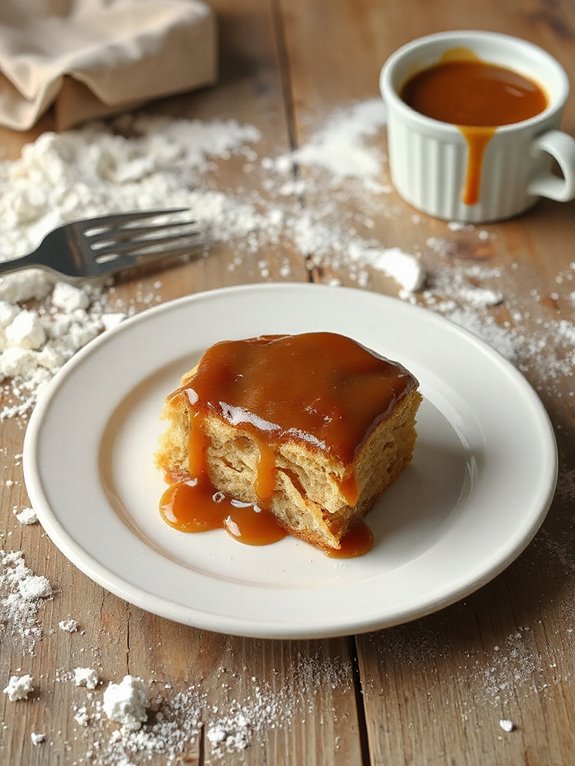
Alright, let's kick things off with the base! First, preheat your oven to 180°C—that's 350°F for you Fahrenheit folks—and grease a 7×11 inch pan. Line it with baking paper, leaving some overhang, it's like a little handle!
Now, mix 1 cup of flour, 1/2 cup of brown sugar, and 1/2 cup of desiccated coconut. Add 125g of melted unsalted butter. Mix well—it should look kind of like wet sand. Making a simple shortbread, for example, can be even quicker than this, often using just butter, flour, and a sweetener.
Press this mixture firmly into your prepared pan. I use an egg flip, but whatever works! Bake it for 15 minutes, until it's golden on top. Wanna get fancy? Cool it in the fridge if you have time, but honestly, I'm usually too impatient!
Caramel Creation
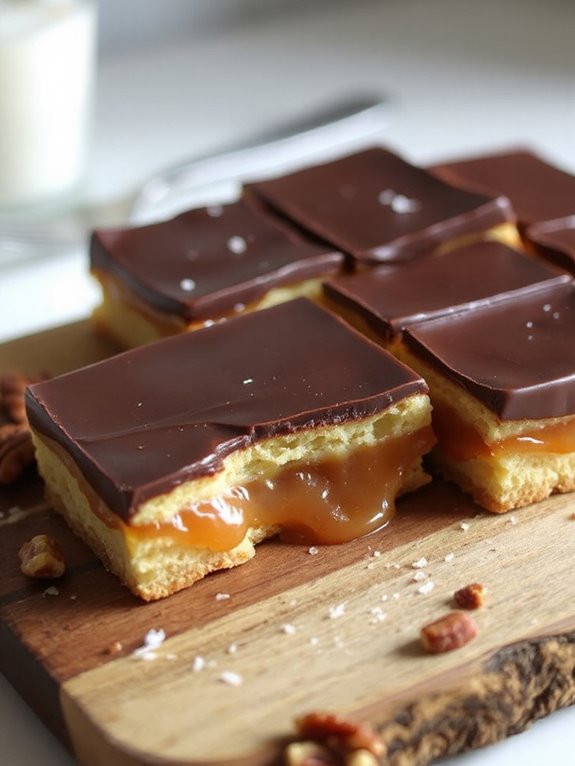
Now, let's examine into caramel creation! It's the gooey heart of our slice. First, in a saucepan, I'm melting butter with brown sugar and a dash of vanilla over medium-low heat. Be patient; you don't want to burn it. Once melted, I whisk them together until nice and smooth—no lumps allowed! Next, I add the sweetened condensed milk! The warm, comforting flavor of cinnamon, familiar from treats like cinnamon breakfast muffins, would complement the caramel beautifully.
Now, whisk, whisk, whisk for about 5 minutes until you start seeing big, slow bubbles that indicate it is getting thick! This is an important step, so, don't stop stirring. After the bubbles start forming, continue whisking for a minute, then pour the caramel over the base.
Here's what I've learned:
- Low and slow keeps the caramel smooth.
- Whisking prevents burning.
- Bubble size indicates readiness.
- Evenly spread guarantees consistent thickness.
- Patience is key to perfect caramel!
I then bake it for 12 minutes, and don't worry about a few spots!
Chocolate Application
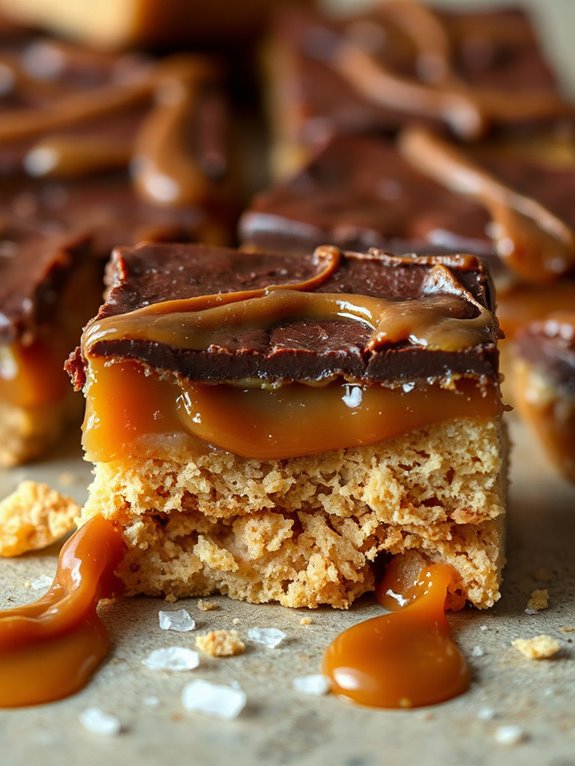
The finale we all anticipate, is the chocolate application. I melt 200g of dark or milk melting chocolate with 1 tbsp of vegetable oil in the microwave – in 30-second bursts, stirring in between, until it's smooth.
Now, gently pour it over the caramel. Really, grab your spatula and spread it evenly! Give the pan a little shake – just a gentle one – to get that perfectly flat surface.
Pop it in the fridge for an hour, or until the chocolate's set firm. Okay, this bit's important—do not skip the fridge time, unless you enjoy a melty mess! Afterward, take it out and let it sit for 5 minutes before cutting. Believe me, you'll thank me later!
Perfecting the Cut

Once you've chilled your caramel slice and the chocolate is firm, you're almost at the finish line! We've got one last hurdle: cutting it neatly. No one wants a crumbly mess, right?
Here's how I do it:
- Warm water is your friend: Dip your knife in warm—not hot—water. Wipe it dry.
- Speed is key: Cut with a quick, decisive motion.
- Clean between slices: For super neat slices, clean your knife after each cut! It's a little extra, but worth it.
- Don't melt the chocolate: Hot water will melt the chocolate and smear into the caramel. Aim for comfortably warm!
- Patience is a virtue: Remove from the fridge 5 minutes before cutting.
And that's all! Now, go enjoy your perfectly cut caramel slice! I hope it tastes amazing!
Storage Advice
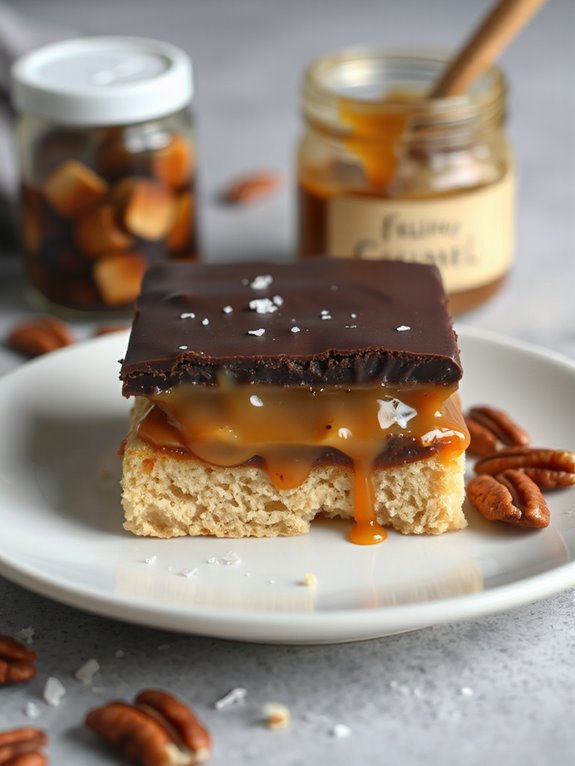
Proper storage is essential for keeping your caramel slice tasting its best! I've found that an airtight container works wonders — it locks in the freshness.
Keep it at room temperature for up to five days. Seems simple, right?
Now, here's a little curveball: If it's super hot where you live and the chocolate starts melting, don't fret! Just pop the container into the fridge. But don't serve it straight from the cold!
Before serving — and I hope everyone is ready for perfection– let the slices sit out for a bit to take the chill out. Enjoy–and try not to eat 'em all in one sitting! (I know it's tempting. It is delicious caramel slice!)
Short Recipe Version
Prep Time: 20 minutes
Cook Time: 30 minutes
Serving Size: 12 slices
Ingredients:
Base:
1 cup all-purpose flour
1/2 cup butter, softened
1/4 cup powdered sugar
1/4 teaspoon salt
Caramel:
1 cup butter
1 cup brown sugar
1/2 cup sweetened condensed milk
2 tablespoons golden syrup
Topping:
6 ounces milk chocolate, melted
Instructions:
- Preheat oven to 350°F (175°C).
- Combine base ingredients and press into an ungreased 9×13 inch pan.
- Bake for 15-20 minutes, or until lightly golden.
- For caramel, melt butter, brown sugar, condensed milk, and golden syrup in a saucepan over medium heat. Stir constantly until smooth and bubbling.
- Pour caramel over baked base and bake for 20-25 minutes, or until golden brown.
- Let cool completely.
- Spread melted chocolate over caramel.
- Refrigerate until chocolate is set before slicing.
Nutrition Information (per serving, estimated):
Calories: 350
Fat: 22g
Saturated Fat: 14g
Cholesterol: 60mg
Sodium: 150mg
Carbohydrates: 40g
Sugar: 30g
Protein: 3g
