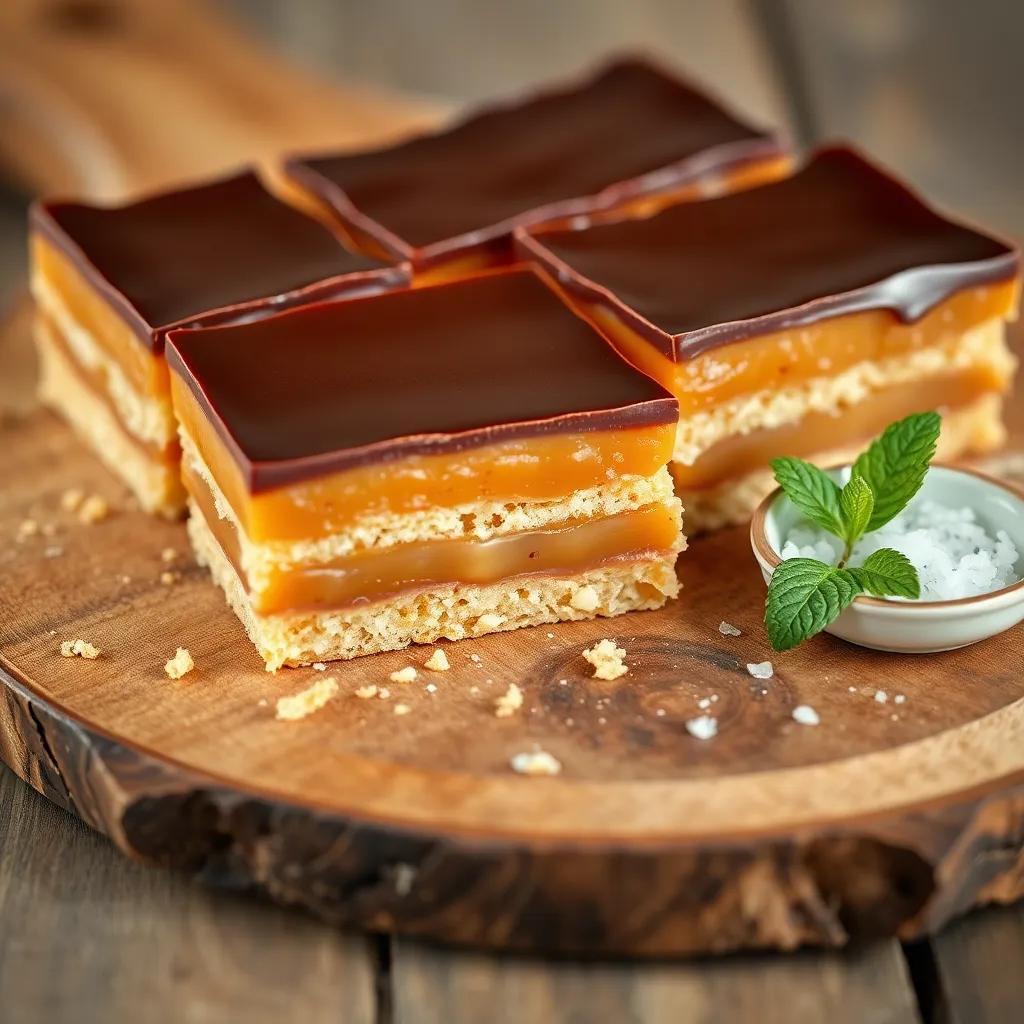
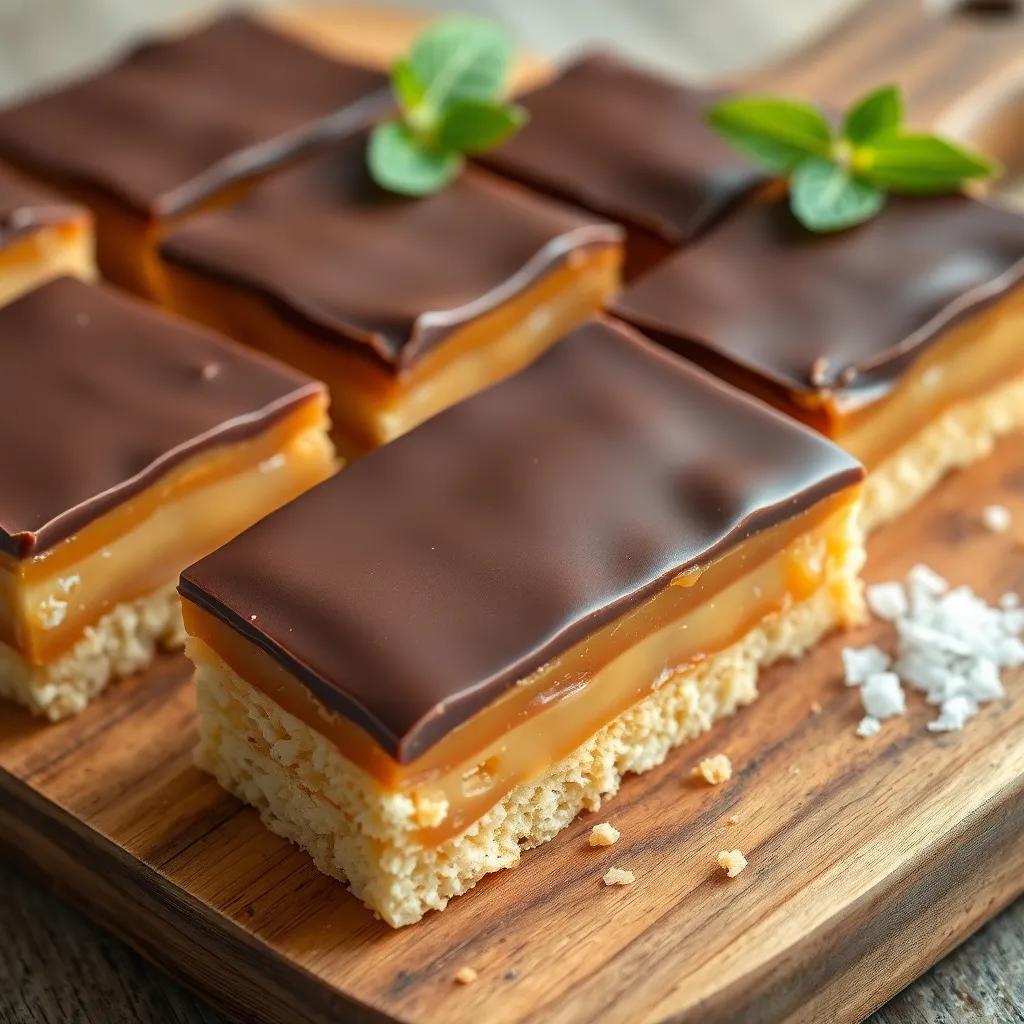
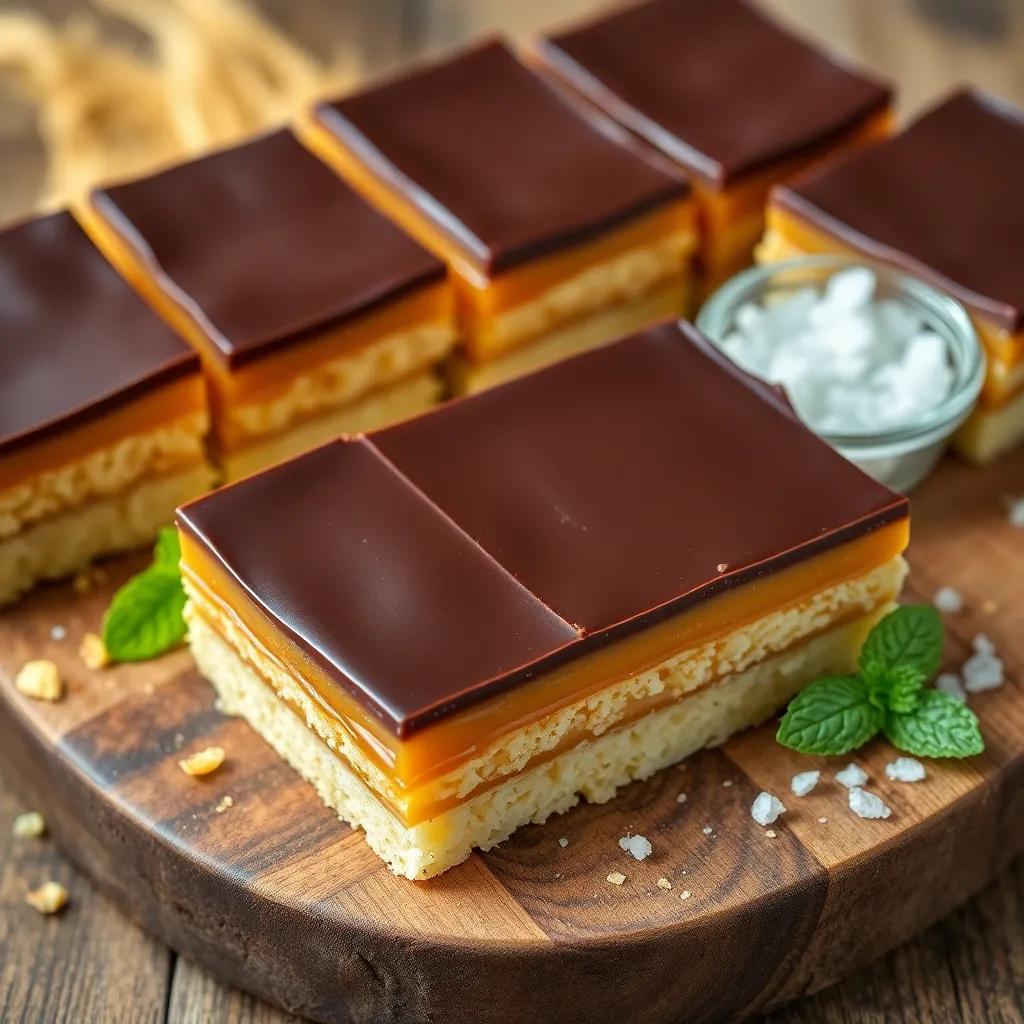
Are you ready to treat yourself to something absolutely delightful? This Delicious Caramel Slice is the perfect combination of creamy caramel, a crunchy biscuit base, and smooth chocolate! Trust me, once you try it, you’ll wonder how you ever lived without this sweet slice of heaven in your life! 🍰✨
What Makes This Caramel Slice Stand Out
This Caramel Slice isn’t just any dessert—it’s a treat that brings joy to everyone! What makes it special, you ask? Let me tell you!
First off, the creamy caramel is perfectly set, meaning no runny mess here! Just think about biting into a slice and tasting that smooth sweetness without it oozing everywhere. Now, that’s a win! The chocolate topping is another highlight. I used a trick (a little oil!) to keep it from cracking when I cut into it. Who wants a dessert that looks like a puzzle, right?
Plus, the whole recipe is super easy. You don’t need to be a master chef to make it! All you need are a few simple ingredients, and you can whip this up in no time. Here’s a quick rundown of why this Caramel Slice shines:
- Coconut biscuit base: Not too sweet, perfectly complements the caramel.
- Condensed milk magic: It’s the secret to that luscious caramel filling!
- Smooth chocolate finish: The oil makes it easy to slice.
I’ve tried many recipes that turned out either too complicated or just plain messy. This one, though? It really works! A delicious, laughter-inducing treat that satisfies kids and adults alike. So, grab your baking pan, and let’s get started on something that will make your taste buds dance! 🍫✨

Ingredients Needed for the Perfect Caramel Slice
To whip up this Delicious Caramel Slice, you won’t need a treasure chest of ingredients—just a few simple items that you probably already have in your pantry! Let’s get right into what you’ll need:
- For the Base:
– 1 cup of plain flour: This gives the slice a nice structure.
– ½ cup of brown sugar: Adds sweetness and a hint of molasses flavor!
– ½ cup of desiccated coconut: (That’s fancy talk for shredded coconut!) It gives a lovely texture.
– 125g of unsalted butter: Melted, this helps bind everything together!
- For the Caramel Filling:
– 125g of unsalted butter: Yes, more butter! This gives the caramel its richness.
– ½ cup (80g) of brown sugar: We need this for that sweet caramel goodness.
– 1 teaspoon of vanilla extract: A little something to enhance the flavor!
– 395g (1 can) of sweetened condensed milk: This is the superstar ingredient that makes the caramel creamy and thick!
- For the Chocolate Topping:
– 200g of dark or milk melting chocolate: Choose your favorite! Both work wonderfully.
– 1 tablespoon of vegetable oil: This little addition keeps the chocolate from cracking when you slice it!
Gather these ingredients, and let’s get baking! It’s amazing how these simple items come together to create such a delightful treat. So, are you ready to enjoy a little slice of heaven? I know I am! 🍰✨

Step-by-Step Instructions for Making Caramel Slice
Alright, let’s get down to the fun part—making our Delicious Caramel Slice! With just a few simple steps, you’ll have a sweet treat that everyone will love. Ready? Let’s go!
Step 1: Prepare the Base
- Preheat your oven to 180°C (350°F). This ensures the base bakes nicely!
- Grease and line a 28x18cm (or 7″ x 11″) rectangular pan with baking paper, leaving some overhang. This makes it easier to lift out later!
- In a bowl, combine the plain flour, brown sugar, desiccated coconut, and melted butter. Mix until it looks well combined.
- Press this mixture firmly into the bottom of the pan. It should be nice and even!
- Bake for 15 minutes or until golden brown. Once it’s done, let it cool for a bit.
Step 2: Make the Caramel Filling
- Lower the oven to 160°C (320°F).
- In a saucepan over medium-low heat, combine the butter, brown sugar, and vanilla extract. Stir until the butter is melted.
- Add the sweetened condensed milk and whisk constantly for about 5 minutes until it bubbles.
- Pour this caramel over your cooled base, spreading it evenly.
- Bake for another 12 minutes. This helps the caramel set nicely!
Step 3: Add the Chocolate Topping
- Melt the chocolate with the vegetable oil in the microwave in 30-second bursts, stirring in between.
- Once melted, pour the chocolate over the cooled caramel filling. Spread it out to look pretty!
Now, let the whole thing cool and set in the fridge for at least an hour. And there you go! You’re just steps away from indulging in amazing Caramel Slice! 🍫✨
Tips for Achieving a Smooth Chocolate Topping
Ah, the chocolate topping! It’s the final touch that can make or break your Caramel Slice experience. Let’s face it, nobody wants to bite into a slice only to have the chocolate crack all over. No way! Here are some tried-and-true tips to help you get that perfect, smooth finish every time!
1. Use the Right Chocolate
- Choose quality melting chocolate: Dark, milk, or semi-sweet, the choice is yours! Just make sure it melts well.
2. Add Some Oil
- One tablespoon of vegetable oil does wonders! Mixing it in with your melted chocolate keeps it softer and helps prevent cracks when you cut into it. It’s like a magic trick for chocolate lovers!
3. Melt It Carefully
- Microwave in bursts: Heat your chocolate in 30-second intervals in the microwave. Stir in between to avoid burning it. When it’s almost fully melted, keep stirring until it’s runny and glossy!
4. Pour and Spread
- Once your chocolate is melted and shiny, pour it over the caramel layer. Use a spatula to spread it evenly, but don’t overdo it—just a gentle touch will do!
5. Tap for Air Bubbles
- After spreading, tap the pan gently on the counter. This helps any trapped air bubbles rise to the surface. Say goodbye to weird bumps on your topping!
By following these simple tips, you’ll have a chocolate topping that looks as good as it tastes! Trust me, when you slice into that Caramel Slice and see that smooth chocolate layer, it will make your heart skip a beat! 🍫❤️ Enjoy every bite!

Storage and Serving Suggestions for Caramel Slice
Now that you’ve created your delicious Caramel Slice, you might be wondering how to store it and best serve it. Let’s dive into those details because nobody wants their hard work to go to waste!
Storage Tips
- Airtight Container: After cutting your slices, pop them into an airtight container. This keeps them fresh and prevents any unwanted fridge odors from sneaking in!
- Refrigerate or Not?: If it’s warm out, it’s best to keep your Caramel Slice in the fridge. But during cooler weather, it can hang out in the pantry. Just make sure it’s away from direct sunlight!
- How Long Will It Last?: If stored properly, your treat will last about 5 days. But let’s be honest, it’s so tasty that I doubt it will last that long!
Serving Suggestions
- Chill It: I love serving my Caramel Slice straight from the fridge. The coolness enhances that creamy caramel flavor!
- Garnish for Fun: Want to impress? Try drizzling some extra melted chocolate on top or adding a sprinkle of sea salt! It makes for a classy touch!
- Cutting Tips: For clean slices, let it sit out for about 5 minutes before cutting. Warming your knife under hot water and drying it off helps make those perfect cuts.
So, whether you’re enjoying it for dessert, sharing it at a party, or snacking throughout the day, these tips will help keep your Caramel Slice delicious and looking fabulous! Enjoy the sweet moments! 🍰✨

