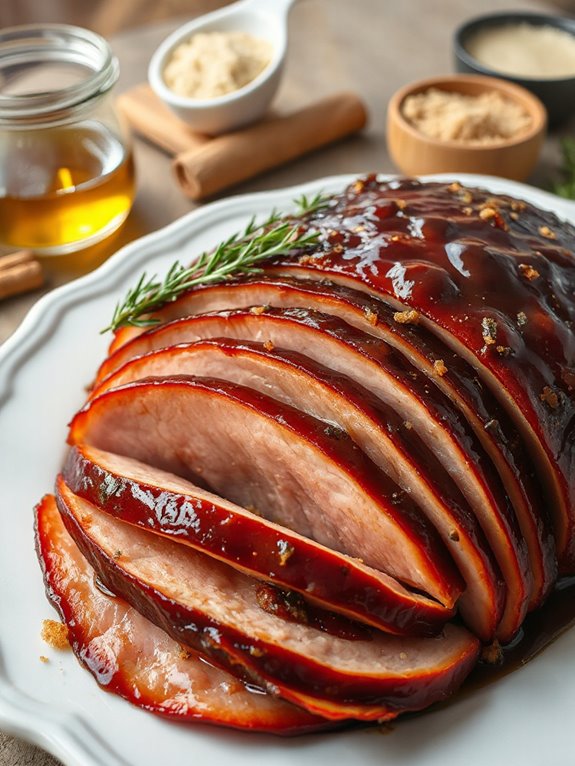
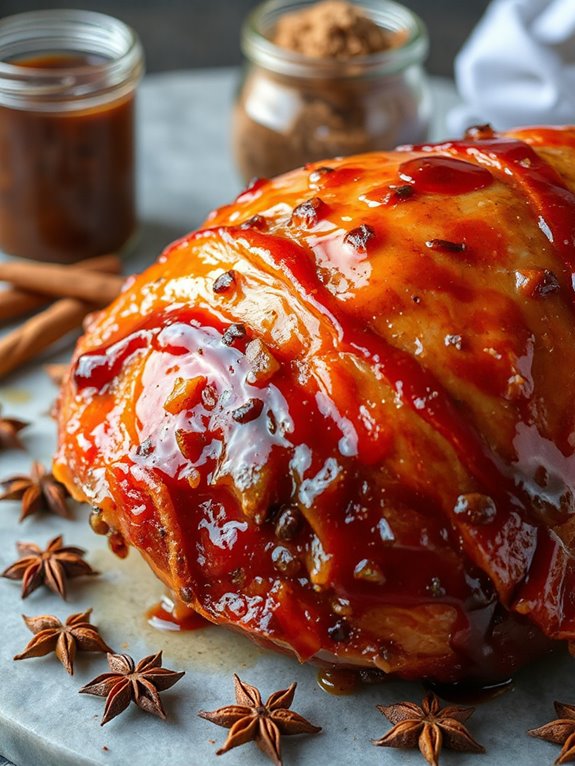
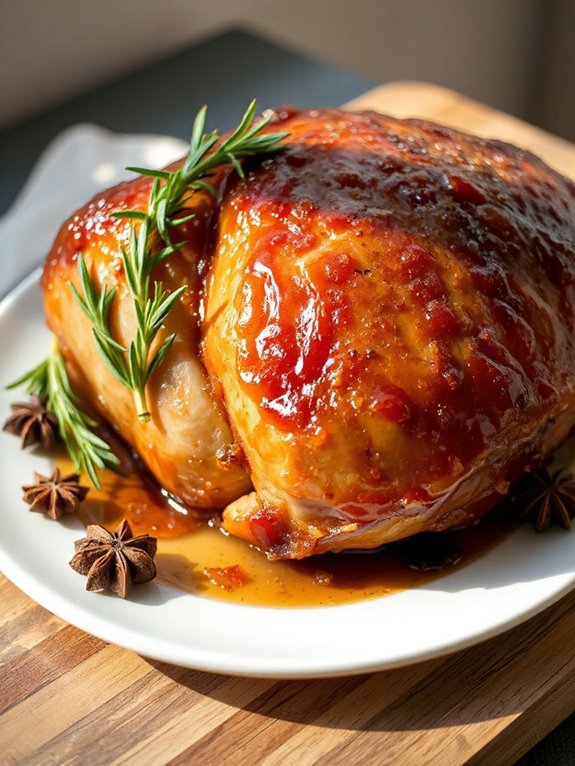
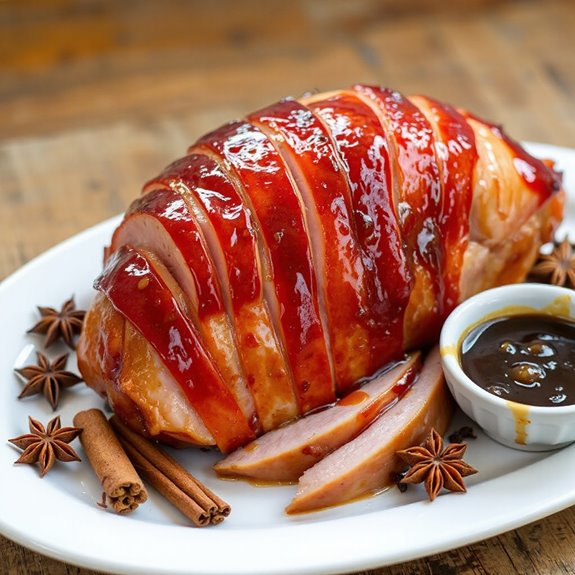
Ready to transform your holiday ham into a show-stopping centerpiece?
This brown sugar ham glaze recipe delivers an irresistible sweet and savory flavor that'll have everyone asking for seconds.
Get ready to experience a taste sensation that elevates your ham from ordinary to extraordinary!
Preparing the Ham

To get started, take your ham out of the fridge about an hour before you plan to cook it—this helps it cook more evenly! Then, preheat your oven to 320°F (or 285°F if you've got a fan oven). Make sure the shelf is set in the lower third; we don't want burnt bits!
Now comes the semi-tricky part: removing the rind, that outer skin. Leave the fat, though! I find cutting through the skin near the bone handle and down the sides works best.
Slide a small knife between the rind and fat, then use your fingers to gently peel the rind off. Keep as much fat on there as humanly possible—we're aiming for that super-glazed look later, and fat's our friend! Flip the ham, peel the underside, and boom, rind-free! For a comparable result, consider using a garlic butter mixture on the ham before cooking.
Next, we have a bit of artistic scoring ahead!
Brown Sugar Glaze Instructions

Now, let's get to the sweet stuff—I'm talking about the brown sugar glaze that'll make your ham a showstopper! I'm telling you, it's the secret weapon.
First, grab a saucepan. You're gonna toss in ¾ cup of brown sugar, ¼ cup of honey (or maple, if you're feeling fancy), ¼ cup of Dijon mustard, and ¼ cup of apple cider vinegar—tangy, right? Season with ½ tsp of black pepper—don't be shy!
Next, because holiday spices make everything better, you're gonna need ¾ tsp of cinnamon, ½ tsp of All Spice, and ¾ tsp of mustard powder. Hey, no substitutions here.
I want you to simmer those ingredients over medium-high heat. Stir it until the sugar dissolves, and hey presto! That's how you'll create the magic of the brown sugar ham glaze. Try not to eat it all, ok?
Cooking and Serving

Time to cook, and trust me, it's way easier than doing long division! Pop your ham on a rack in a baking pan. Slather that glaze everywhere — except the handle, of course.
Bake it for 1.5 hours at 320°F, basting every 20 minutes. I like to use the pan juices, too, to keep it moist and flavorful. If parts brown too quick, foil's your friend!
Now, let's talk serving – it's presentation time. Seasoning the ham with garlic, reminiscent of the bacon-wrapped pork tenderloin's flavorful baste, can enhance the taste. You can:
Wrap the handle** with baking paper tied with ribbon.
** Stick rosemary sprigs into the ham – fancy!
- Serve warm or at room temp – so flexible.
- Nominate a ham carver to slice it thinly, because why not feel important?
Whisk water into pan juices for a sauce that's like honey. Don't worry about losing flavor, it's already intense. Enjoy leftovers — if there's any!
Short Recipe Version
Brown Sugar Ham Glaze Recipe (Concise)
Prep Time: 5 minutes
Cook Time: 1.5 hours
Serving Size: Varies (depending on ham size)
Ingredients:
- 1/2 cup brown sugar
- 1/4 cup Dijon mustard
- 2 tablespoons honey
- 1 tablespoon apple cider vinegar
Instructions:
- Preheat oven (temperature depends on ham – follow ham package instructions).
- Slather glaze thickly over ham.
- Bake according to ham package instructions, basting regularly with pan juices.
- Continue baking until golden brown (approximately 1.5 hours).
Nutrition Information (per serving, estimated):
- Calories: 150
- Fat: 5g
- Protein: 5g
- Carbohydrates: 20g
