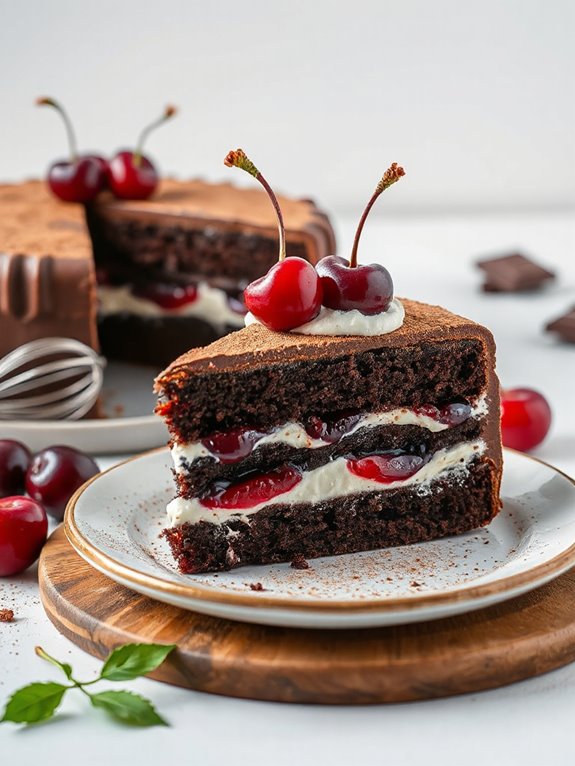
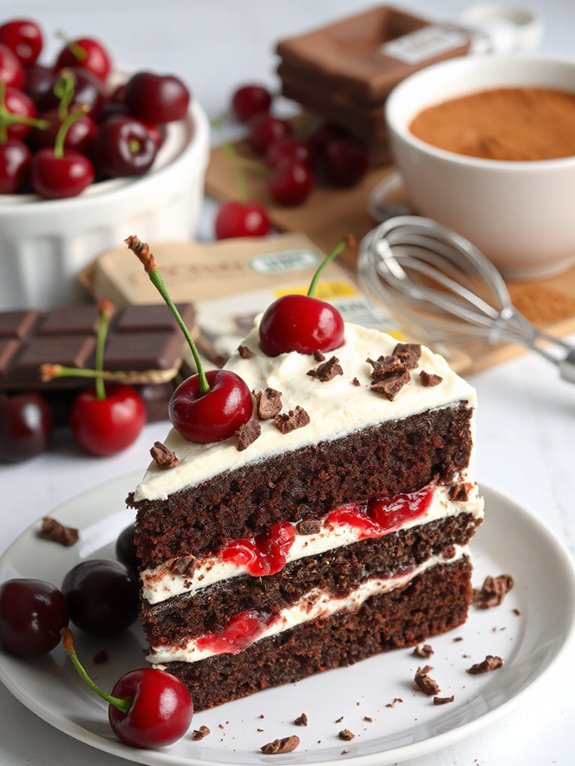
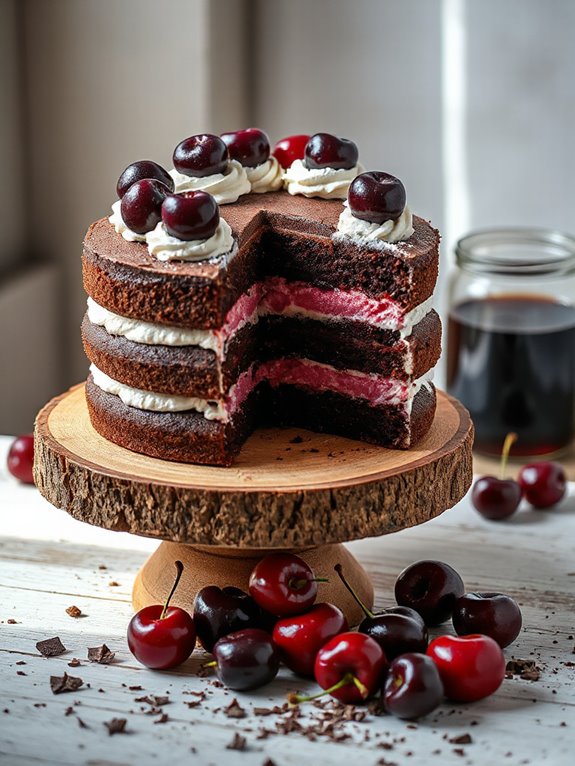
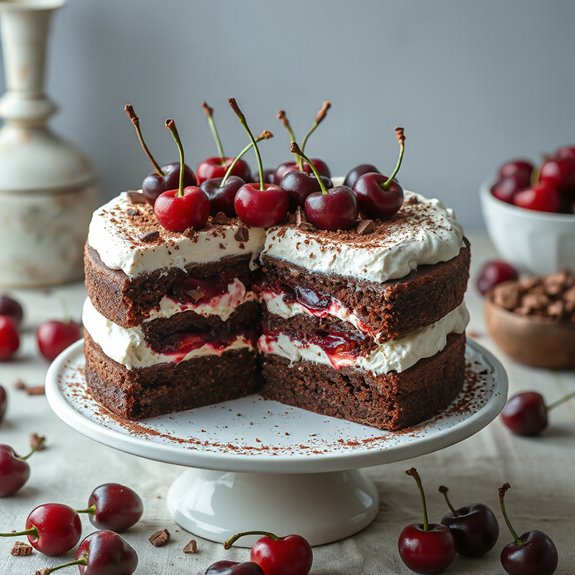
Craving a slice of decadent bliss? Get ready to bake a stunning Black Forest cake that will wow your taste buds and impress your friends.
This recipe breaks down the steps to creating this classic dessert, making it surprisingly simple to achieve bakery-worthy results.
Ingredients

Okay, let's gather all the yummy stuff we need! For the chocolate cake, you're gonna require six large eggs—room temperature is key!
Next up, vanilla extract, caster sugar (that's superfine!), cocoa powder (Dutch-processed is my fave, but regular's okay), plain flour, and melted – but cooled – unsalted butter. A key component in both cakes is the often-overlooked cocoa powder. Now, onto our cherry syrup—grab a jar of pitted Morello cherries, kirsch or cherry liqueur (or more cherry juice, if you're feeling alcohol-averse), more caster sugar, and some cornflour to thicken it up!
Finally, for decorating – this might be the best part – thickened or heavy cream, vanilla, soft icing sugar – oh, and don't get the pure stuff; it's not the same! And last but not least, dark chocolate, and maraschino – or fresh – cherries for the top. That's everything, I think!
Instructions

First, we're diving straight into baking the chocolate sponge cake layers! I want you to preheat your oven to 180°C. Don't forget to grease three 20cm cake pans with butter and line them with baking paper!
Next, sift your cocoa and flour together in a bowl… This gets rid of the lumps, you know? Now, grab your mixer and beat those eggs for thirty seconds. Slowly add that sugar, then vanilla — beat everything for a full seven minutes until it's pale and thick. It's like magic, I'm telling you!
Now, gently fold in your dry ingredients, then fold in the melted butter. As with apple pies, achieving a golden brown color is an indicator of doneness. Pour the batter into your pans and bake for 25 minutes, or until a skewer inserted into the center comes out clean. Cool, then we'll start on constructing the cake.
Recipe Notes

There are some things that I want to mention to avoid errors that may occur while you give this a try. For cocoa powder, dutch-processed will add richer color and taste, but regular unsweetened cocoa works just fine too.
Now, about cherries: jarred morello cherries in syrup—sour cherries—are the way to go! I swear they're better than fresh ones; plus, we use the syrup.
If you're in Australia, look for jars at Woolworths or Coles. Can't find them? Frozen pitted cherries can be used. Thaw 'em and save any liquid! You can use that—plus cherry juice—for the syrup later. Isn't that neat?
Short Recipe Version
Black Forest Cake (Simplified)
Prep Time: 45 minutes
Cook Time: 35 minutes
Servings: 12
Ingredients:
- 2 cups all-purpose flour
- 2 cups granulated sugar
- ¾ cup unsweetened cocoa powder
- 1 ½ tsp baking powder
- 1 ½ tsp baking soda
- 1 tsp salt
- 1 cup buttermilk
- ½ cup vegetable oil
- 2 large eggs
- 2 tsp vanilla extract
- 1 cup boiling water
- 1 (21 ounce) can cherry pie filling
- 1/2 cup Kirsch (cherry liqueur)
- 2 cups heavy cream
- ¼ cup powdered sugar
- 4 ounces bittersweet chocolate (for shavings)
Instructions:
- Bake chocolate cake according to your favorite recipe or box mix, let cool completely.
- Combine cherry pie filling and Kirsch in a saucepan. Simmer for 10 minutes, then let cool.
- Whip heavy cream with powdered sugar until stiff peaks form.
- Level the cooled cake and split in half.
- Brush simple syrup evenly over cut sides of cake layers.
- Spread one cake layer with cherry mixture, then top with a layer of whipped cream.
- Place the second cake layer on top, and frost the entire cake with the remaining whipped cream.
- Garnish with chocolate shavings or extra cherries.
- Chill for 30 minutes before serving.
Nutrition Information (per serving, estimated):
- Calories: 450
- Fat: 25g
- Saturated Fat: 15g
- Cholesterol: 100mg
- Sodium: 250mg
- Carbohydrates: 50g
- Sugar: 35g
- Protein: 5g
