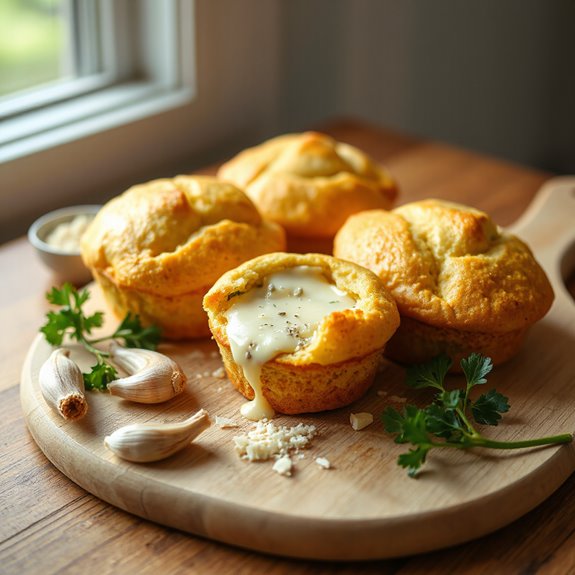
Craving a quick and delicious savory snack?
Prepare to be amazed by these cheese garlic muffins – golden, flavorful bites that disappear in minutes!
Get ready to unlock the simple secrets to baking these irresistible treats.
Ingredients Checklist
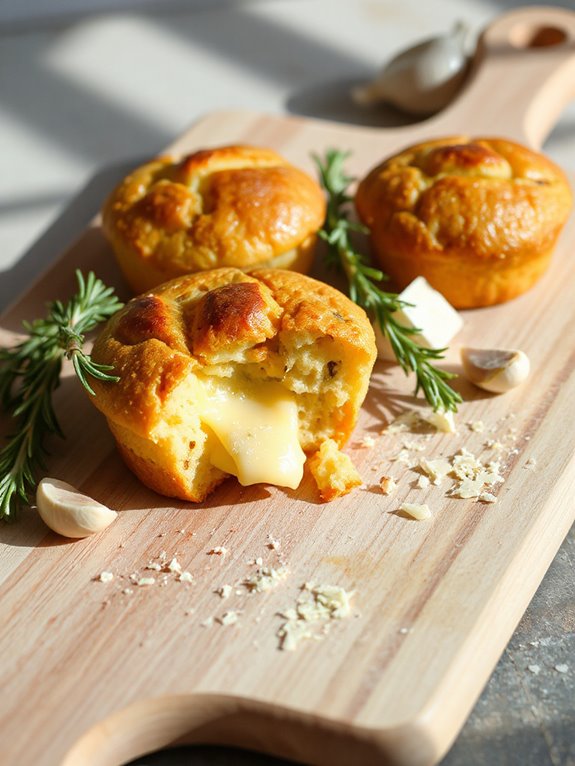
Okay, let's get our ingredients ready for these awesome cheese garlic muffins! You'll need 3 tablespoons — that's about 50g — of salted butter. But, hey, if you only have unsalted, just add a pinch of salt!
Grab 2 garlic cloves; we're crushing them, by the way. Two cups — roughly 200g, if you're a scale person like me — of grated cheddar cheese. Note: mozzarella's too boring, you know? Using cheddar will imbue the muffins with a rich flavor, similar to that in cheese bread.
Now mix 2 cups (300g) of plain flour, 1 1/2 teaspoons of baking powder, and 1/2 teaspoon each of baking soda and salt.
For the yum, wet stuff: 1 large egg, lightly whisked – no need to go crazy here. Then, 1 cup of milk, 1/4 cup (60g) of sour cream or plain yogurt, 1/3 cup (85ml) of vegetable oil. Plus, 1/4 cup of finely chopped fresh parsley and– surprise! — one more crushed garlic clove. Boom!
Preparation Instructions
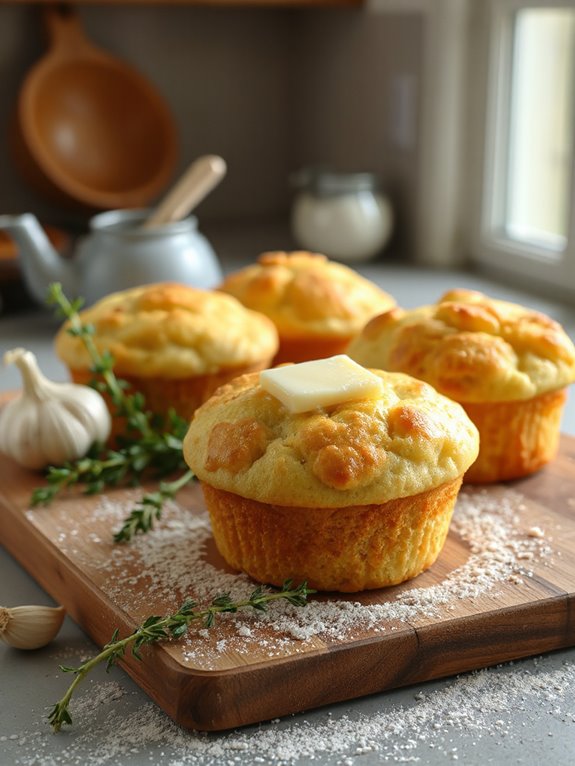
First, you gotta get your oven ready, so let's preheat that beast to 180C/350F if you're using a regular oven, or 160C/320F with a fan. Next, I melt the butter with the crushed garlic. I use the microwave in short bursts – 30 seconds usually does the trick. It is as quick and easy to prepare as garlic bread!
Now, grease your muffin tin! I use some of that yummy garlic butter, making sure each hole gets a good slather. Don't forget to reserve some for brushing later.
In a bowl, I whisk together all the dry stuff – the flour, baking powder, baking soda, and salt. Then, in another bowl, I whisk together all the wet ingredients, like the egg, milk, sour cream, oil, parsley, and more crushed garlic 'cause – why not?
I then pour the wet ingredients into the dry. Mix it all together – around 8 times. It's alright if it isn't perfect! Now mix in the cheese, and you are almost ready to bake!
Baking Guidelines
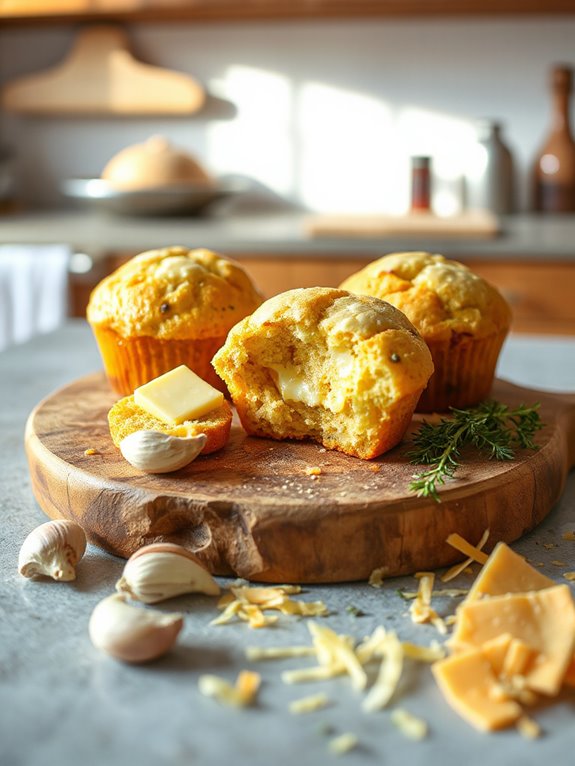
With everything mixed, it's time to get these muffins into the oven! I like to bake them at 180C/350F if it's a standard oven, or 160C/320F if using a fan-forced oven. Makes a difference, trust me!
Now, bake them for about 22-25 minutes. Keep a close eye – you want them golden and crusty.
To know when they're ready, give them a gentle touch in the center. If they spring back, you're golden! If not, give them another minute or two. Don't over-bake; nobody likes dry muffins.
Once they're outta the oven, pop 'em on a cooling rack. Then, brush with the leftover garlic butter and let them cool a bit before enjoying! They are scrumptious warm.
Tips for Storage
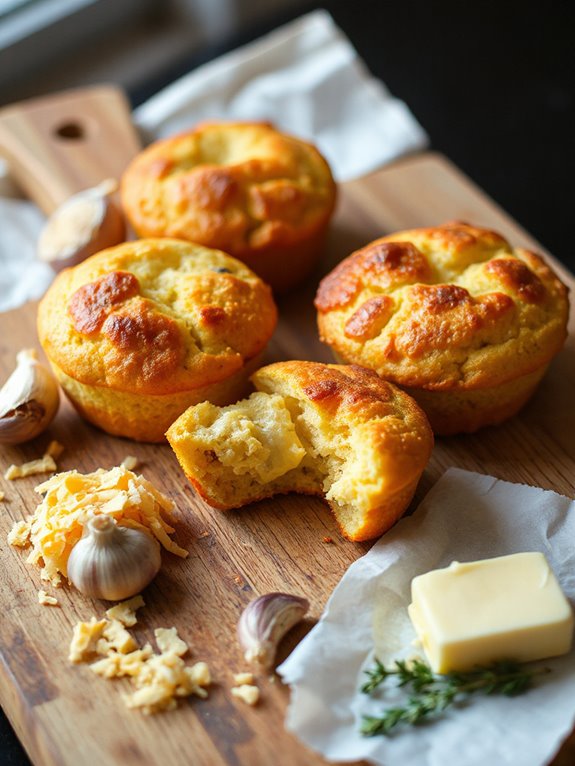
Let's talk about storing these goodies so you can enjoy them later! I find they stay fresh for about 2 to 3 days in an airtight container. I mean, if they even last that long!
For longer storage, freezing is your friend. You can freeze these muffins for 2 – 3 months. Wrap them individually in plastic wrap, then pop them into a freezer bag. This helps prevent freezer burn – nobody wants that!
When you're ready to eat them, just thaw them at room temperature. Reheat them in the oven or microwave! I find that a quick zap in the microwave does the trick when I'm impatient. And who isn't, right? They are best served warm – just a little tip from me to you!
Short Recipe Version
Prep Time: 15 minutes
Cook Time: 20 minutes
Serving Size: 12 muffins
Ingredients:
- 2 cups all-purpose flour
- 1 tbsp baking powder
- 1/2 tsp salt
- 1 cup milk
- 1/4 cup vegetable oil
- 1 egg
- 1 cup shredded cheddar cheese
- 4 cloves garlic, minced
- 1/4 cup butter, melted
Instructions:
- Preheat oven to 400°F (200°C).
- In a large bowl, whisk together flour, baking powder, and salt.
- In a separate bowl, combine milk, oil, and egg.
- Pour wet ingredients into dry ingredients and mix until just combined.
- Stir in cheese and minced garlic.
- Melt butter and brush muffin tin. Fill muffin cups 2/3 full and brush with melted butter.
- Bake for 20 minutes, or until golden brown.
- Let cool slightly before serving.
Nutrition Information (per serving, estimated):
- Calories: 180
- Protein: 6g
- Fat: 10g
- Carbohydrates: 17g
