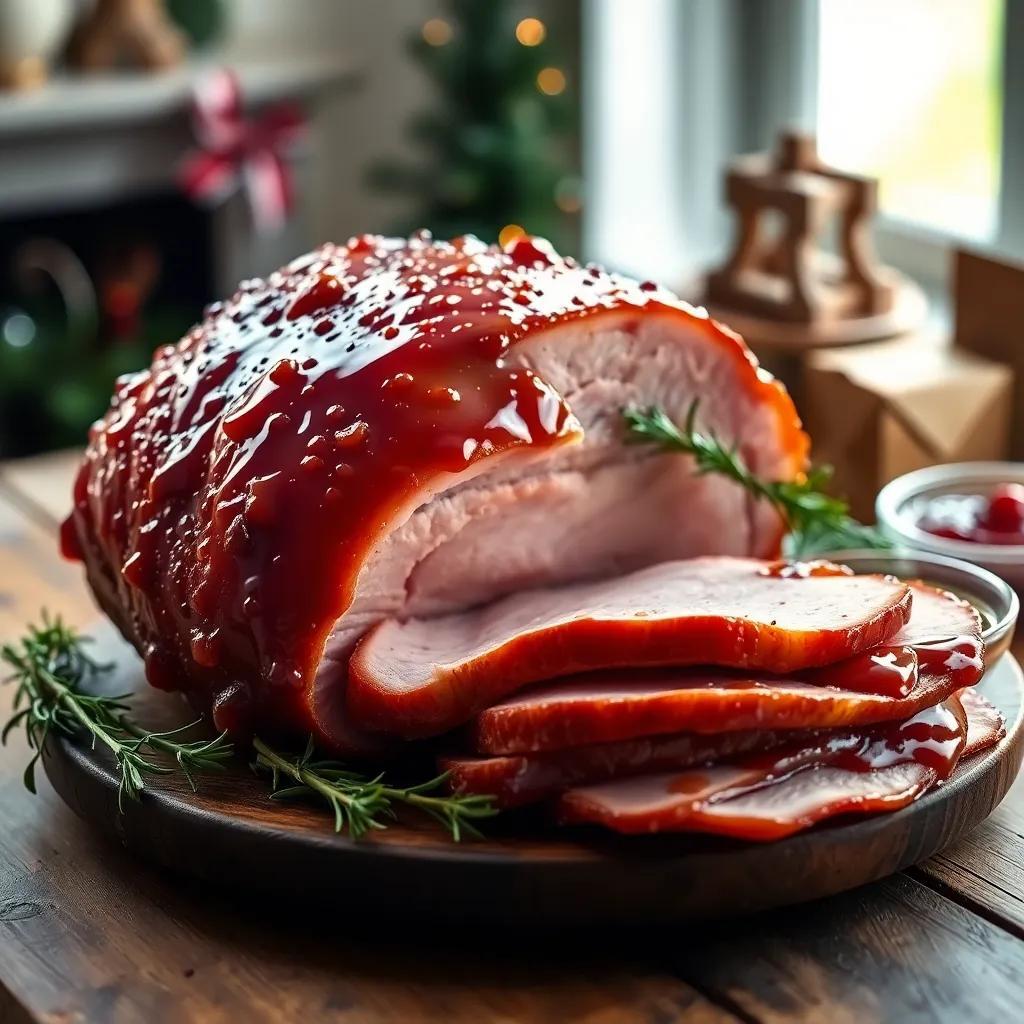
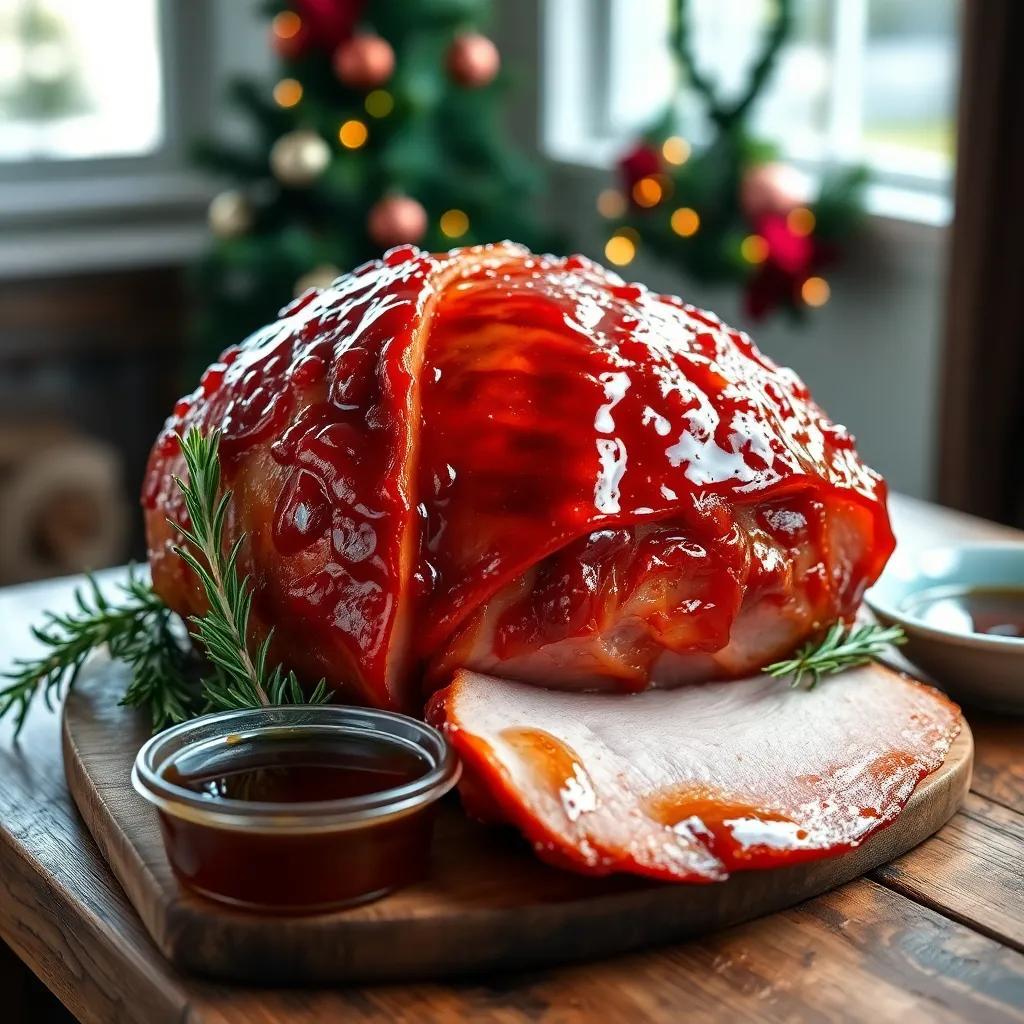
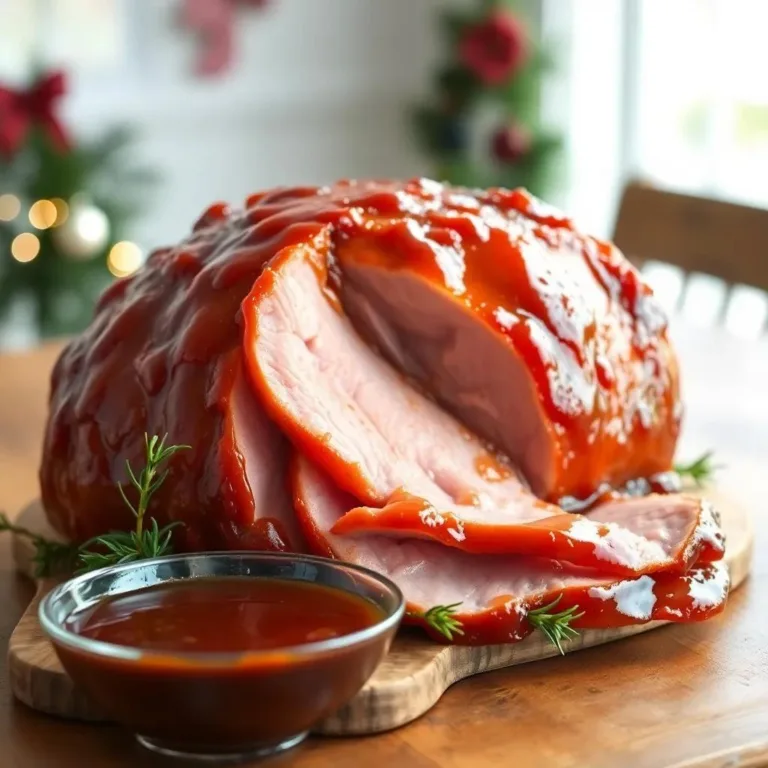
If you’re looking to impress your family and friends this holiday season, the Brown Sugar Ham Glaze is the perfect recipe to add a touch of sweetness and a whole lot of flavor to your dinner table! Imagine a beautifully glazed ham, caramelized to perfection, making everyone’s taste buds dance with joy! Join me as I share my favorite tips and tricks for creating a ham that’s not just a meal, but a centerpiece!
Choosing the Right Ham for Glazing
When it comes to making a delicious glazed ham, the choice of ham is super important! Trust me, it can make all the difference. Here’s what I look for when picking the perfect ham for my Brown Sugar Ham Glaze:
- Bone-In vs. Boneless: I always go for a bone-in ham! Why, you ask? Because it adds so much flavor, and it’s easier to carve. Plus, who doesn’t love a good ham bone for soup later on?
- Ready-to-Eat: Make sure you grab a ham that’s ready-to-eat. This means the ham has already been cooked. You want to avoid raw ham, like gammon, unless you plan on cooking it for a long time.
- Look for Quality: High-quality hams from a good butcher typically have a meaty texture and a rich flavor. You can tell they are not heavily processed. Some supermarket hams are injected with brine, which can make them taste overly salty or rubbery. Yuck!
- Weight Matters: Aim for about 200-300 grams (7-10 ounces) of ham per person. If you’re hosting, a 5 kg (10 lb) ham should serve around 15-20 people. Don’t forget the leftovers!
Remember, the right ham can make your glazing adventure super tasty! So, be picky and choose wisely! Your family and friends will thank you when they taste the deliciousness!

How to Remove Ham Rind Effectively
Getting rid of the ham rind can feel a bit tricky, but don’t worry! I’m here to share my easy steps to make it a breeze. You want to leave the fat on, because it helps with that tasty glaze later on!
Here’s how I do it:
- Start with the Handle: Cut through the skin around the handle. This part stays on, so it holds its shape while you carve.
- Make Slits: Cut little slits down each side of the ham. This helps peel off the rind easier!
- Knife Time: Use your knife to run along the rim between the rind and the fat. This will create a nice gap that helps you pull the rind off.
- Slip Your Fingers In: Gently slide your fingers into the gap you created. This part is a bit like a fun magic trick!
- Pull and Peel: Start pulling the rind back slowly. If it tears, that’s okay! Just keep peeling off the remaining bits.
- Score the Fat: Once the rind is off, score a 1-inch diagonal pattern on the fat. This allows the glaze to work its magic later.
Remember, take your time with these steps! The rind is tough and rubbery, but that’s why you’re the ham master here! With these simple steps, your ham will be ready for the delicious glaze that’s coming next. Happy cooking!

Making the Perfect Brown Sugar Ham Glaze
Getting that perfect glaze for your ham is like creating a sweet masterpiece! I promise, once you try this Brown Sugar Ham Glaze, you’ll be hooked! It adds a rich flavor and beautiful caramelization that’s simply irresistible!
Here’s how I make it:
- Gather Your Ingredients: You’ll need:
– 3/4 cup brown sugar
– 1/4 cup honey (or you can use maple syrup if you like)
– 1/4 cup Dijon mustard
– 1/4 cup apple cider vinegar
– 1/2 teaspoon black pepper
– Optional spices: Cinnamon and All Spice for a touch of warmth!
- Mix It Up: In a saucepan, combine all these tasty ingredients over medium-high heat. Stir everything together and watch as the brown sugar melts into a gooey, sweet mixture. It’s like magic happening right in your kitchen!
- Simmer for Flavor: Let the glaze simmer for a few minutes, stirring occasionally until the sugar dissolves completely. This step is important—it really brings out the flavors!
- Get Ready to Glaze: Once your ham is ready, it’s time to slather that glaze all over it! Make sure to coat every inch, even the underside!
This glaze balances sweet and tangy beautifully, making your ham not just a dish, but a centerpiece! It’s so easy, you’ll want to make it every holiday! Get ready for compliments from your family and friends—they’ll be asking for seconds!
Baking and Basting the Glazed Ham
Now that you have your ham ready and that amazing Brown Sugar Ham Glaze all mixed up, it’s time to bake and baste! This is where the real magic happens, and your kitchen will smell heavenly!
- Preheat Your Oven: First things first, set your oven to a cozy 160°C (320°F). This lower temperature helps the ham cook evenly, so you don’t end up with burnt bits!
- Prepare Your Ham: Place the ham on a rack in a roasting pan. Trust me, this helps it cook perfectly without sticking. Now it’s time to baste! Apply a generous amount of your glaze all over that ham. Say it with me: ALL OVER THE HAM!
- Add Moisture: Pour 2 cups of water into the bottom of the roasting pan. This creates steam, which keeps your ham nice and juicy. You can substitute with some white wine or orange juice for an extra flavor twist!
- Baste Regularly: Here’s the fun part! Every 20 minutes, open that oven and baste your ham with the drippings and leftover glaze. This not only adds flavor but helps create that gorgeous caramelized look we all love!
- Cook to Perfection: Bake your ham for about 1.5 hours, or until it reaches an internal temperature of 60°C (140°F). If any parts start to brown too quickly, just cover them with a little bit of foil.
At the end of this process, you’ll have a beautifully glazed ham that’s sure to impress everyone at the table! Happy baking!

Serving Suggestions and Leftover Ideas
Alright, your Brown Sugar Glazed Ham is a showstopper and it’s finally time to serve it! But what should you do with those delicious leftovers? Here are some of my favorite serving suggestions and clever ideas for what to do with any extra ham.
- Slice and Serve: First, carve thin slices of that glorious ham for your guests. It makes a beautiful centerpiece on the table! Drizzle some of that luscious pan sauce over the slices for extra flavor. Yum!
- Leftover Sandwiches: One of my all-time favorites is making ham sandwiches! Use some crusty bread or a soft roll, add your favorite toppings, and maybe a bit of mustard for a kick. You can’t go wrong with a classic ham sandwich!
- Creative Recipes: Don’t let the ham go to waste! Here are a few fun ideas:
– Ham and Cheese Omelet: Throw some leftover ham into an egg omelet for a hearty breakfast!
– Ham Soup: Use the bone and leftover meat to make a comforting soup. Just simmer with some veggies, and you’ll have a warm dish in no time!
– Pasta Dishes: Add chunks of ham to your favorite pasta dish for some extra protein and flavor.
- Storage Tips: If you have a lot of ham left, store it properly! Keep it in an airtight container or wrap it well in plastic wrap, and it can last about a week in the fridge. You can also freeze it for longer storage.
With these ideas, you’ll not only enjoy your ham dinner but also make the most of those delicious leftovers! Happy feasting!

