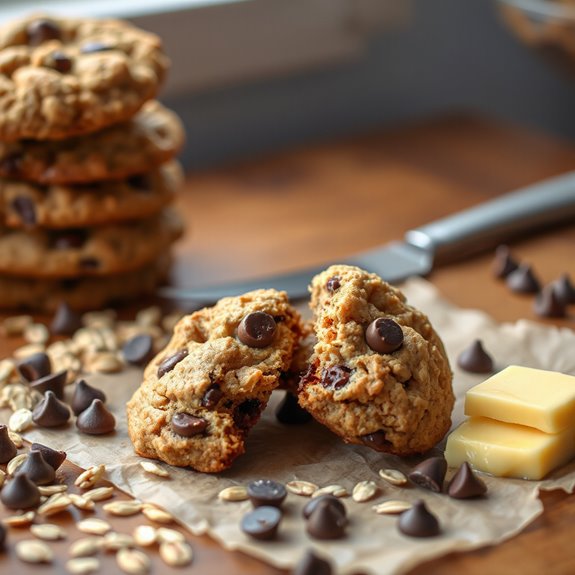
Imagine sinking your teeth into a warm, chewy cookie with a hint of nutty butter, hearty oats, and melty chocolate.
These aren't just any cookies; we're diving into the irresistible world of Brown Butter Oatmeal Chocolate Chip Cookies, where a simple technique elevates a classic to extraordinary.
Ready to unlock the secrets to baking these delightful treats and banish cookie disappointment forever?
Ingredients
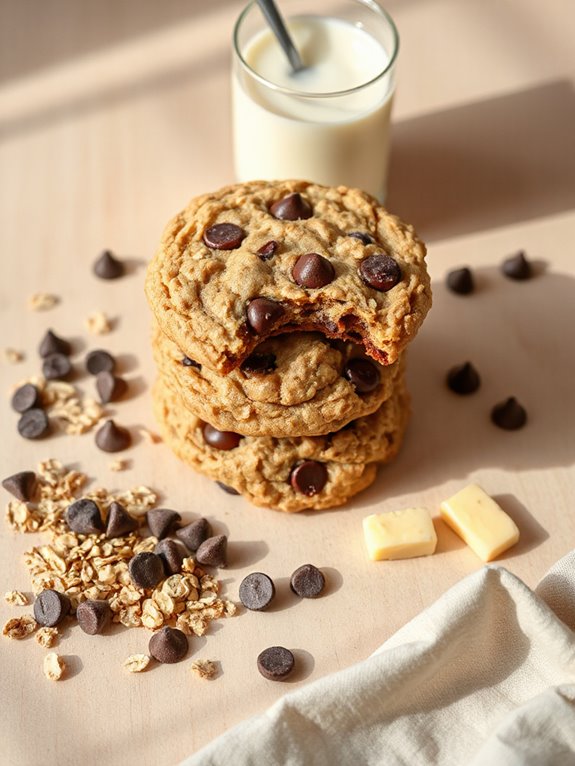
If you're getting ready to bake up a batch of these absolutely irresistible Brown Butter Oatmeal Chocolate Chip Cookies, let's gather all we need! You'll need 150g (that's about 10 tablespoons) of unsalted butter. Make sure it's cut into small cubes, about 1cm or 1/2 inch each—this'll help it melt evenly!
Next, grab a cup of all-purpose flour, plus a cup and a half of rolled oats. Don't snag the quick oats or steel-cut kind; save those for breakfast! You'll also need a teaspoon of baking soda (sift it if it's lumpy—no one wants lumpy cookies!) and a tiny pinch (1/8 tsp) of cooking or kosher salt.
Don't forget a cup of tightly packed brown sugar—it adds that awesome molasses-y flavor! One large egg at room temperature is next, plus a teaspoon of vanilla extract. Consider making a batch of vanilla buttercream frosting to spread on top of the finished cookies for an even sweeter treat! Finally, 200g (or 7 ounces) of 70% dark chocolate! You can chop up a block, or just use chocolate chips if you're feeling lazy.
Instructions
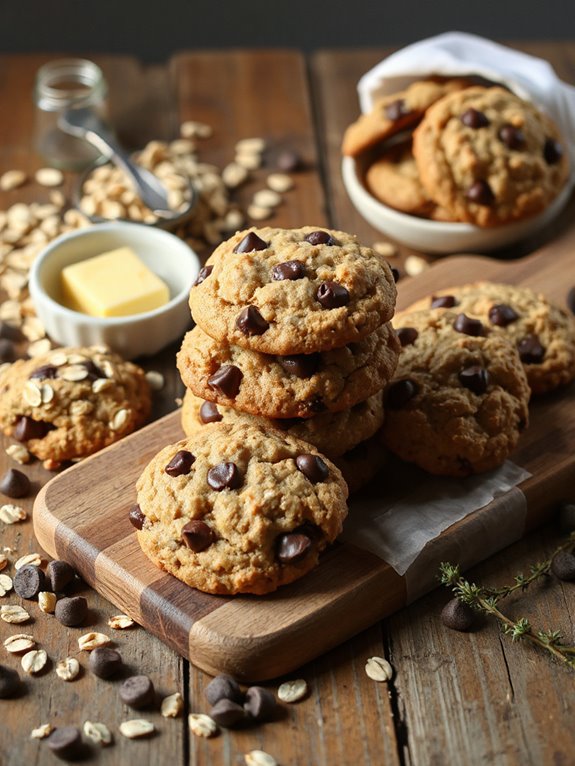
Let's get baking! First, preheat your oven to 350°F (180°C)—or 320°F (160°C) if it's a fan oven. Grease some baking trays—I use three—then line them with parchment paper.
Now, brown the butter. In a pan over medium heat, melt the butter and let it simmer for 3–5 minutes. Stir occasionally, and watch for golden-brown bits. Once you see them, pour the butter (including those yummy bits) into a bowl – it needs to be big enough to mix up the cookie dough. This technique ensures the cookies have a rich, nutty flavor, reminiscent of beloved blondies. Let it cool for about 5 minutes.
Time to chop the chocolate into 1/4" (1cm) chunks. In another bowl, whisk together flour, oats, baking soda, and salt. Back to the butter, add the brown sugar and whisk. Then add the egg and vanilla—whisk until smooth.
Add the dry to the wet! Mix until barely combined, then fold in the chocolate. Let the dough sit for 5 minutes. Scoop a tablespoon onto the tray, flatten to 1/3" thick, bake for 10-11 minutes, then cool.
Recipe Notes
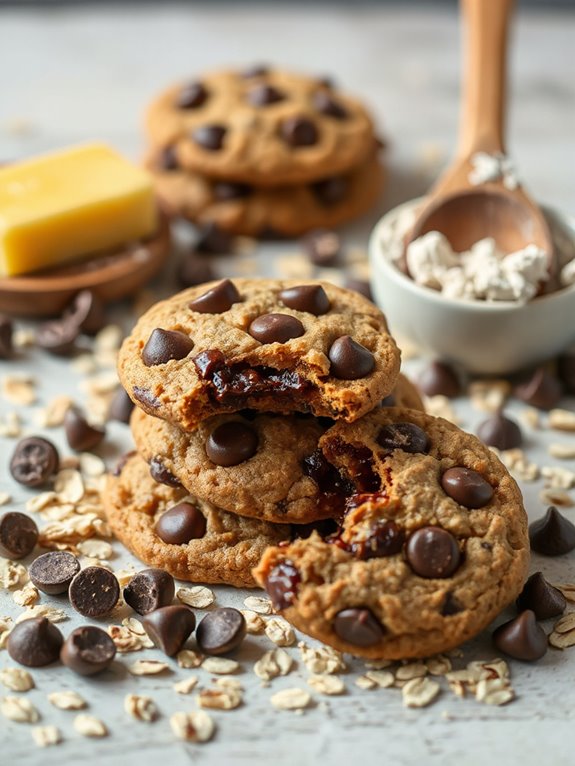
Now that we've baked these amazing cookies, it's important to chat about some key recipe notes to guarantee yours turn out perfectly!
First, about the chocolate dust—when you chop chocolate, there's always that leftover fine "dust." I skip it, it's just a visual thing! I reserve it for cappuccinos.
Here's a few more nuggets:
- Chocolate Choice: Lindt is my go-to, I stock up when it's on sale! Dark eating chocolate works too. Or sub with 1 cup/200g dark choc chips.
- Browning Butter Tip: Silver pans are ideal for browning butter, easier to see those golden-brown bits! We do not want to burn our butter.
- Baking Time: For 2 trays, bake 11 minutes, rotating at the 7-minute mark. One tray needs 10 minutes, rotating at 6 minutes.
- Storage: Keeps for 5 days in an airtight container—they might soften after day 3. If it's hot, keep chilled!.
Nutrition Information
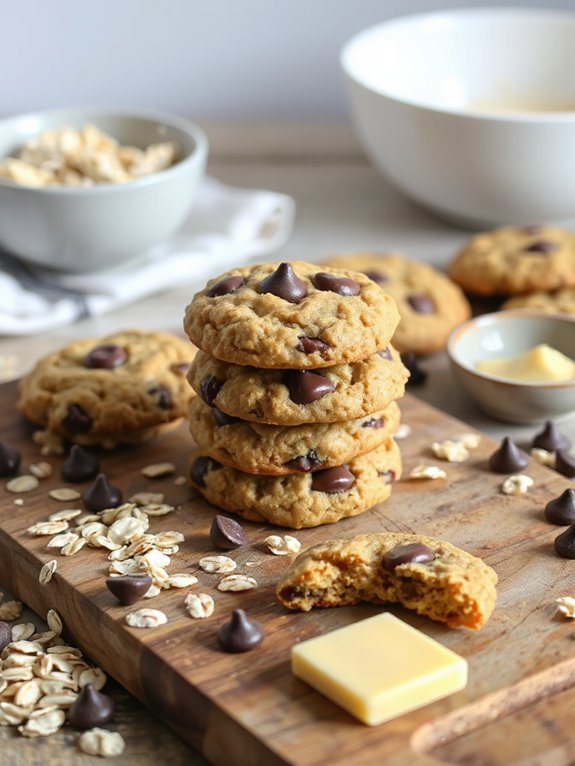
For all you number crunchers – and I know you're out there – each cookie has 22 grams of carbs, 2 grams of protein, and 9 grams of fat. Saturated fat comes in at 5 grams.
Pay attention to the sugar, these have 13 grams! There's also a bit of fiber, around 1 gram, and some vitamins and minerals, like Vitamin A, calcium, and iron – who knew cookies could be somewhatnutritious?!
Short Recipe Version
Prep Time: 15 minutes
Cook Time: 12 minutes
Serving Size: 18 cookies
Ingredients:
- 1 cup unsalted butter
- 1 cup packed brown sugar
- 1/2 cup granulated sugar
- 2 large eggs
- 1 teaspoon vanilla extract
- 1 1/2 cups all-purpose flour
- 1 teaspoon baking soda
- 1 teaspoon salt
- 3 cups rolled oats
- 1 cup chocolate chips
Instructions:
- Brown butter in a saucepan over medium heat. Cool slightly.
- Cream together brown butter, brown sugar, and granulated sugar.
- Beat in eggs and vanilla.
- In a separate bowl, whisk together flour, baking soda, and salt.
- Gradually add dry ingredients to wet ingredients, mixing until just combined.
- Stir in oats and chocolate chips.
- Drop rounded tablespoons of dough onto baking sheets.
- Bake at 375°F (190°C) for 10-12 minutes.
- Let cool on baking sheets for a few minutes before transferring to a wire rack to cool completely.
Nutrition Information (per serving, estimated):
- Calories: 220
- Fat: 12g
- Saturated Fat: 7g
- Cholesterol: 40mg
- Sodium: 150mg
- Carbohydrates: 28g
- Fiber: 2g
- Sugar: 15g
- Protein: 3g
