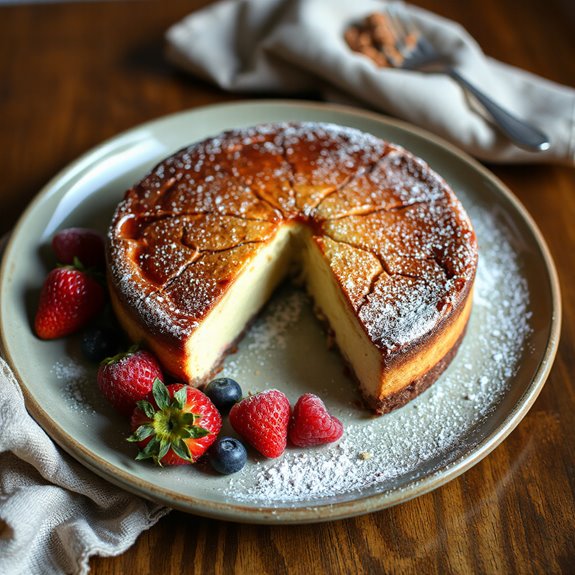
Forget everything you think you know about cheesecake! Basque Burnt Cheesecake boasts a beautifully caramelized exterior and a decadent, creamy interior that's surprisingly simple to achieve.
Are you ready to discover the magic behind this unconventional and utterly irresistible dessert?
Ingredients
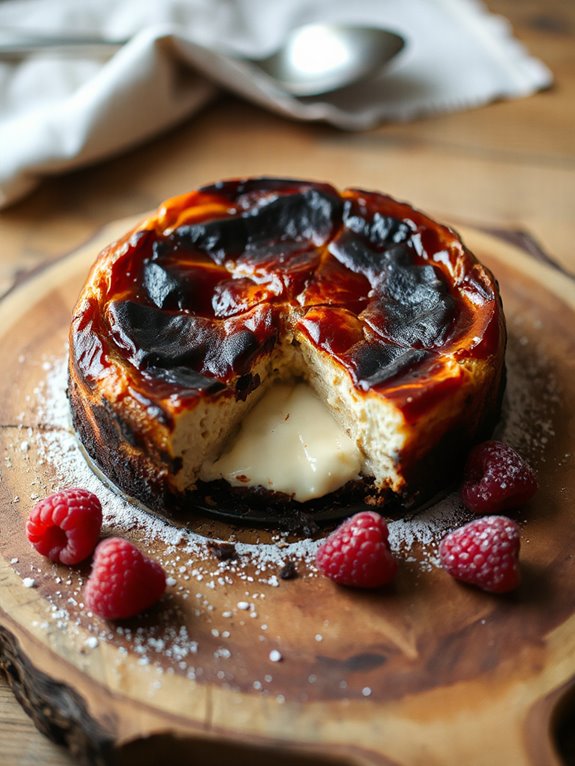
To whip up this crazy-delicious Basque Burnt Cheesecake, you'll need a few key ingredients! First, grab 750g—that's about 1.5 lbs—of room-temperature cream cheese blocks. I usually go for Philadelphia, but hey, you do you!
Next, you'll need 1 cup of caster sugar—aka superfine, but regular white sugar works too. Then, measure out 1 1/4 cups of whipping cream. Pop it out of the fridge about 15 minutes beforehand to chill it slightly.
And, don't forget 1/4 cup of plain or all-purpose flour, plus 1 tsp of vanilla bean extract or paste. Much like the addition of spices in a carrot cake, vanilla adds a delightful dimension of flavor. Finally, measure out 3/4 cups plus one tablespoon of lightly whisked eggs – four or five large ones should do it! I'm making you actually measure that. Selfish hens!
Pan Prep
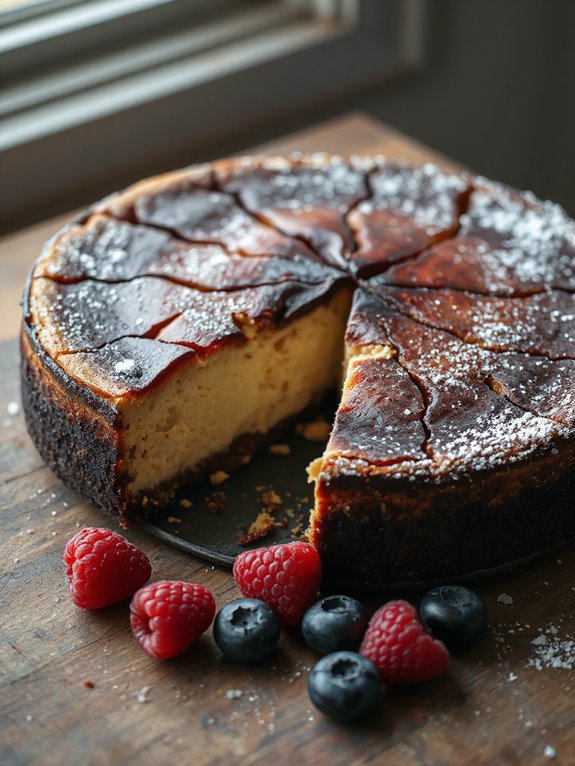
Now that we've got all our ingredients lined up, let's get our pan ready to rock! We're gonna use a 20cm/8" springform pan. If ya don't have one, that's okay – just use a regular cake pan that's about the same size.
Grab two sheets of baking paper, each about 40cm/16" long. Crumple 'em up – yes, really! It makes them easier to fit. Arrange the sheets inside in an "X" shape.
Press the paper against the pan. Don't worry if it's not perfect; we're going for rustic, remember? Fold the paper over the rim, try to get it snug and secure, and don't grease the pan! Why? Grease makes the sides brown too fast, and this recipe, unlike some recipes, does not require added oil. I sometimes use cans on the side to mould the lining, but don't get too picky!
Batter Instructions
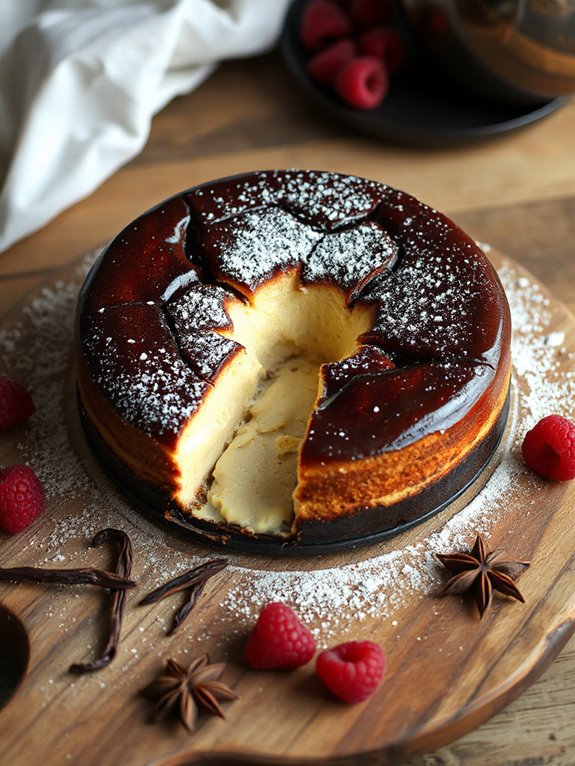
With the pan prepped and ready, I'm diving straight into the batter! First, I cream the cheese! In a large bowl, I beat the room temperature cream cheese until it's smooth! Around 2 minutes on medium speed works well, and don't forget to scrape the sides.
Next, beat in the sugar, but keep it low and slow – about 10 seconds. Trust me, we're not trying to make a cheesecake explosion.
Now comes a special step: I whisk flour with 1/4 cup of cream, manually, until it becomes a paste – it prevents lumps! Then, I add the remaining cream and vanilla. Remember: this isn't whipped cream. What we're aiming for is pourable!
Slowly pour the cream mixture– into the cream cheese. Make sure that the mixer is on low. And finally… go slow when you add the eggs, and then beat 'til just combined! Less beating means fewer bubbles–that part's pretty important!
Baking
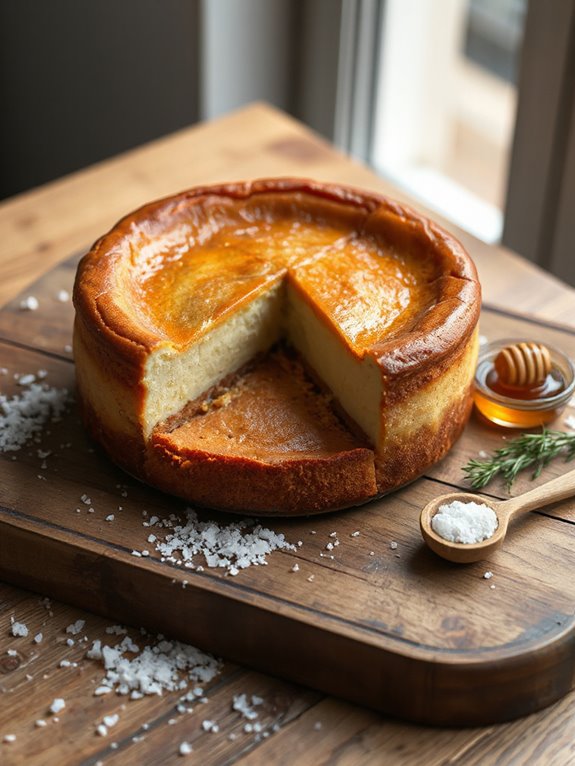
Once the batter is ready, I'm excited to get it into the oven! Make certain your oven is preheated to 220°C or 425°F (200°C fan); it's vital for that signature burnt top. Place the cheesecake on the middle shelf.
Now, we wait! Bake for 45 minutes; it could stretch to 65 minutes, but don't panic – ovens vary! I know, it's tempting to peek, but resist! Keep an eye, especially near the end, to make certain it becomes a deeply golden brown.
The center will still wobble – remember, that's normal! Think of it like a slightly jiggly custard. Once it has the color, and maybe a little bit of nervous excitement on your part, take it out!
Serving
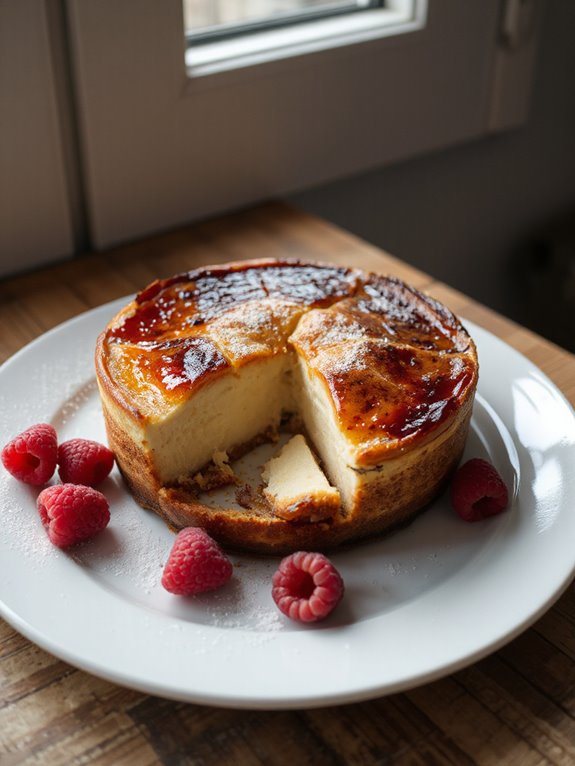
After your cheesecake has baked to perfection, I bet you're itching to slice it up and dig in—I know I would be! Well, patience, young grasshopper!
First, release the springform pan sides. Now, hold onto that paper overhang to lift it off the base—imagine it's a tiny paper boat sailing to delicious town! Set it on a cutting board or plate; presentation counts, you know?
Next, fold down those paper sides! I love serving it right on the paper; it's part of the rustic charm—makes it look like it came straight from a Spanish grandma's kitchen!
If you can wait, let it come to room temperature for about 30 minutes—or, hey, just dig in chilled! Cut it like a regular cake; no fancy knife skills needed. Eat it plain—no need for cream or berries; it's perfect as is—trust me! It's a caramel-kissed, vanilla dream, and I think you'll agree.
Short Recipe Version
Prep Time: 15 minutes
Cook Time: 50-60 minutes
Serving Size: 8
Ingredients:
- 24 oz Cream Cheese
- 1 1/4 cup Sugar
- 4 large Eggs
- 1 cup Heavy Cream
- 1 tsp Vanilla Extract
- 1/4 tsp Salt
- Parchment Paper
Instructions:
- Preheat oven to 400°F (200°C). Line a 9-inch springform pan with parchment paper, ensuring it extends above the rim.
- In a large bowl, beat cream cheese and sugar until smooth.
- Beat in eggs one at a time, then stir in heavy cream, vanilla extract, and salt.
- Pour batter into prepared pan.
- Bake for 50-60 minutes, or until deeply golden brown on top and slightly wobbly in the center.
- Let cool completely or chill before slicing and serving.
Nutrition Information (per serving):
- Calories: 450
- Fat: 35g
- Saturated Fat: 20g
- Cholesterol: 200mg
- Sodium: 250mg
- Carbohydrates: 25g
- Sugar: 20g
- Protein: 8g
