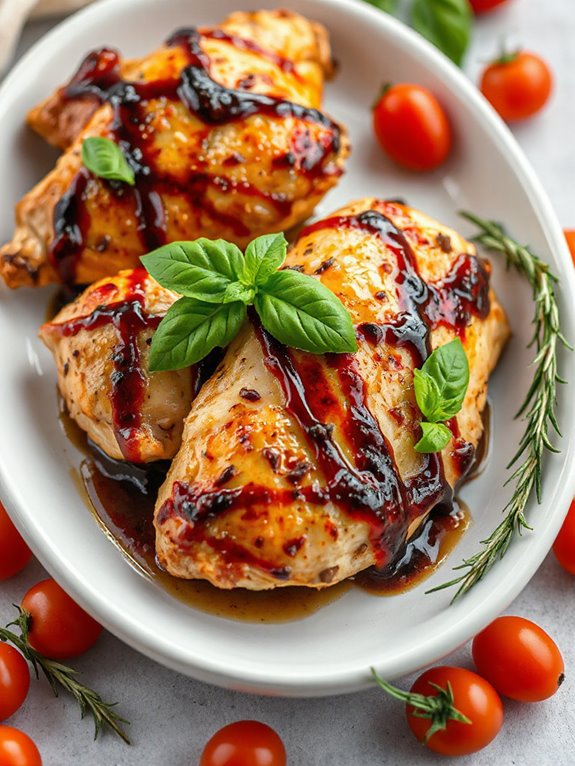
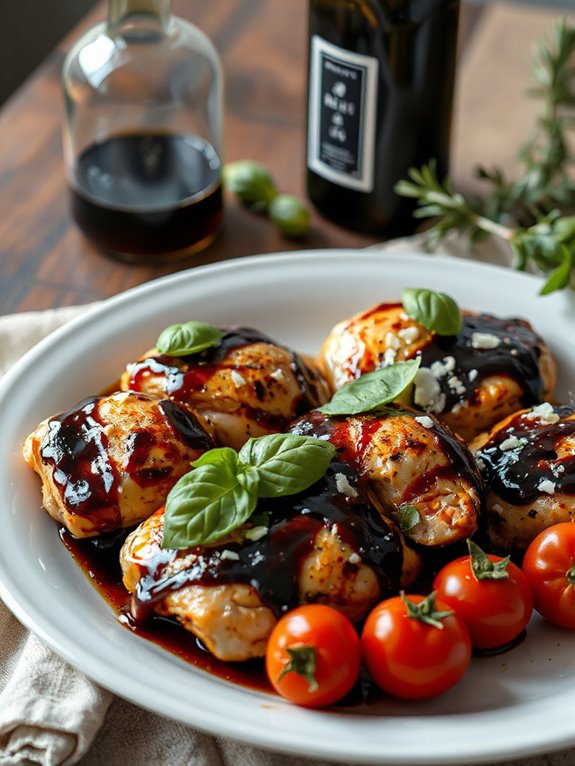
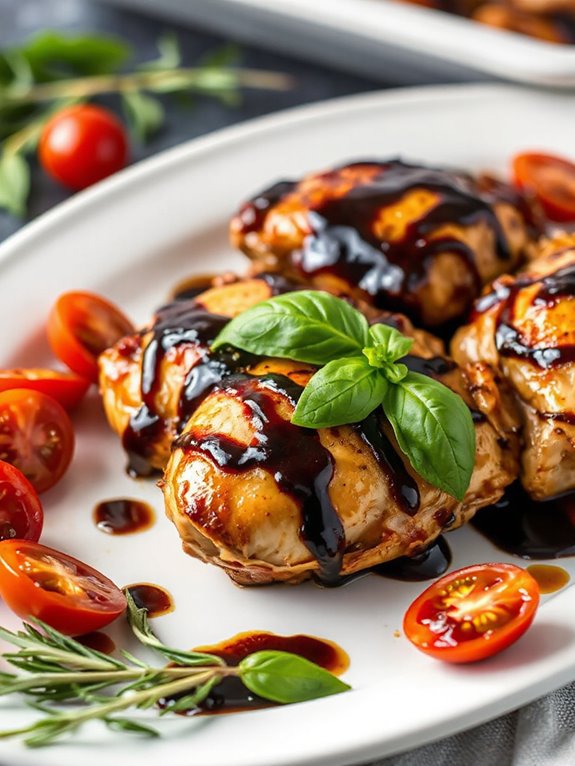
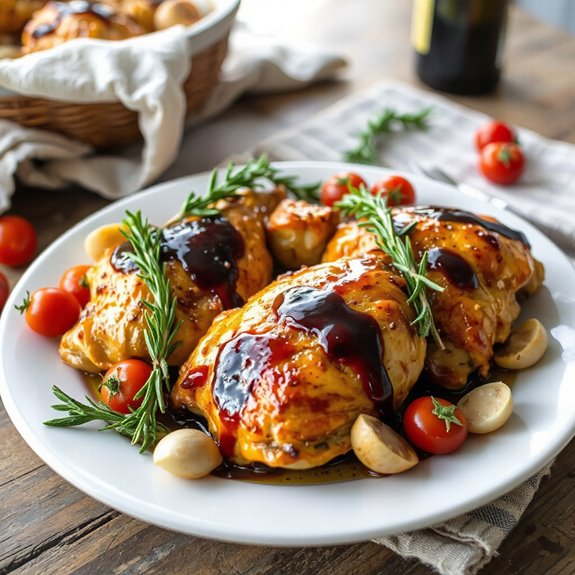
Are you ready to impress your family with a mouthwatering dinner? Let me introduce you to my favorite Baked Balsamic Chicken recipe! It’s quick, easy, and so sticky-sweet that you’ll be licking your fingers clean! Trust me, once you try this dish, it will become a go-to in your kitchen!
Ingredients for Baked Balsamic Chicken
Let’s get started on this delicious adventure with Baked Balsamic Chicken! To make this savory dish, you’ll need some basic ingredients that are probably already in your pantry! Here’s what you’ll need:
- 1 kg (2 lb) chicken thighs (about 5 pieces, bone-in, skin-on)
- 1/4 cup (65 ml) balsamic vinegar
- 2 1/2 tablespoons (50 ml) soy sauce (light or all-purpose)
- 1/4 cup (85 g / 65 ml) honey
- 1/4 cup (45 g) brown sugar (loose, not packed)
- 2 garlic cloves, minced (or 1 1/2 teaspoons garlic paste)
Got everything? Awesome! Here’s a quick tip: using bone-in, skin-on chicken thighs gives you that rich flavor and keeps the chicken juicy! Drumsticks and wings work great too!
You can mix and match the chicken parts, but just remember, if you change things up too much, the cooking time might also change. And nobody wants to bite into raw chicken! Yikes!
Plus, the balsamic vinegar gives that tangy kick, while honey and sugar balance it out for that perfect sticky glaze. Seriously, who doesn’t love a bit of sweetness in their savory meals? It’s like a party in your mouth!
So, gather these ingredients, and let’s make something scrumptious that will impress everyone at the dinner table! I can’t wait for you to taste this easy, mouthwatering dish! Enjoy the cooking!
Quick and Easy Preparation Steps
Alright, my friend, let’s get cooking! Making Baked Balsamic Chicken is super simple and takes hardly any time at all. Follow these easy steps, and you’ll have a delicious dinner ready in no time!
- Preheat the Oven: Start by preheating your oven to 180°C (350°F). This step is important because we want that chicken to cook evenly and get all nice and crispy!
- Prepare the Baking Dish: Line a baking dish with foil and parchment paper. This helps with cleanup and keeps the chicken from sticking. No one likes a messy kitchen, right?
- Mix the Sauce: In a bowl, combine the balsamic vinegar, soy sauce, honey, brown sugar, and minced garlic. Stir it well! This sauce is the secret to our sticky goodness!
- Arrange the Chicken: Place the chicken in your lined baking dish, skin side down. Make sure the pieces are snug, but not overcrowded. We want that glaze to work its magic!
- Pour and Bake: Pour the sauce over the chicken, making sure every piece is coated. Pop it in the oven for 30 minutes. After that, flip the chicken over and spoon some sauce on top. Bake for another 20 minutes until the chicken is cooked through and the sauce is thick!
Letting the chicken rest for about 5 minutes before serving will help keep it juicy. Now you’re all set to enjoy your sticky, sweet creation! Dinner is going to be fantastic!
Tips for Perfectly Sticky Chicken
Now that we’ve got our Baked Balsamic Chicken cooking away, let’s talk about how to make it even more sticky and delicious! A few simple tips can take this dish from good to totally amazing! Here’s what I’ve learned through my kitchen adventures:
- Use Skin-On Chicken: Always go for chicken with skin—it keeps the meat juicy and helps the sauce stick better. Trust me, no one likes dry chicken!
- Don’t Rush the Sauce: When you pour the balsamic sauce over the chicken, make sure it covers each piece well. This allows the flavors to soak in and create that irresistible glaze!
- Bake it Right: Keep an eye on the cooking time. After the first 30 minutes, flipping the chicken and spooning the sauce over it helps get that sticky finish. You want that glaze to thicken and cling!
- Let it Rest: Once you take it out of the oven, let your chicken sit for about 5 minutes before serving. This allows the juices to redistribute, making your chicken even more tender!
- Experiment with Sugars: If you want a little twist, try mixing up the honey and brown sugar! You can use maple syrup or coconut sugar instead. It’ll give your dish a fun new flavor!
With these tips, your Baked Balsamic Chicken will be the star of the dinner table! Get ready for compliments from everyone who tries it! Happy cooking!
Variations and Substitutions
Now that we’ve crafted our delicious Baked Balsamic Chicken, let’s have some fun! There are tons of ways to mix things up and make this dish your own. Here are some great variations and substitutions you can try!
- Different Chicken Cuts: If you prefer, feel free to swap out chicken thighs for drumsticks, wings, or even bone-in breasts! Just remember, cooking times may vary, so keep an eye on them!
- Add Vegetables: Want to make it a one-pan wonder? Toss in some vegetables like carrots, bell peppers, or broccoli. They’ll soak up that amazing sauce and add color to your dish!
- Switch the Sweetener: If honey isn’t your thing, you can use maple syrup or agave nectar. Each will give a unique sweetness that pairs beautifully with balsamic vinegar.
- Herbs and Spices: Feel free to jazz it up with some fresh herbs! Thyme, rosemary, or a pinch of red pepper flakes can add an exciting twist. Just sprinkle them over the chicken before baking!
- Make it Low-Carb: For a lower-carb option, you can use cauliflower rice instead of traditional sides. The balsamic chicken pairs perfectly with this healthy choice!
Experimenting is half the fun of cooking! So, grab your apron and get creative! I can’t wait to hear how you personalize your Baked Balsamic Chicken! Enjoy the process!
Serving Suggestions and Storage Tips
Once your Baked Balsamic Chicken is out of the oven, it’s time to think about how to serve it up! A beautiful presentation can make all the difference. Here are some fun ideas!
- Plate it Up: Serve the chicken hot on a big platter, drizzled with the leftover sticky sauce. Add some fresh herbs on top for a pop of color. It looks fancy, but it’s super easy!
- Side Selections: Pair it with some tasty sides. Here are a few ideas:
– Steamed Vegetables: Broccoli or green beans are perfect choices!
– Rice or Quinoa: They soak up the sauce wonderfully!
– Mashed Potatoes: You can’t go wrong with creamy potatoes!
Now, let’s talk about storage! If you have leftovers (which I doubt because it’s so good!), here’s how to keep them fresh:
- Refrigerate: Store leftovers in an airtight container in the fridge for up to 3 days. Just reheat in the microwave or oven until warm.
- Freeze: You can also freeze it! Just let the chicken cool down first, then place it in a freezer-safe container. It can last up to 3 months in the freezer. When you’re ready to eat, thaw it overnight in the fridge and reheat!
Enjoying this dish the next day is just as delightful! So, make some extra if you want to relish those tasty flavors again! Happy eating!