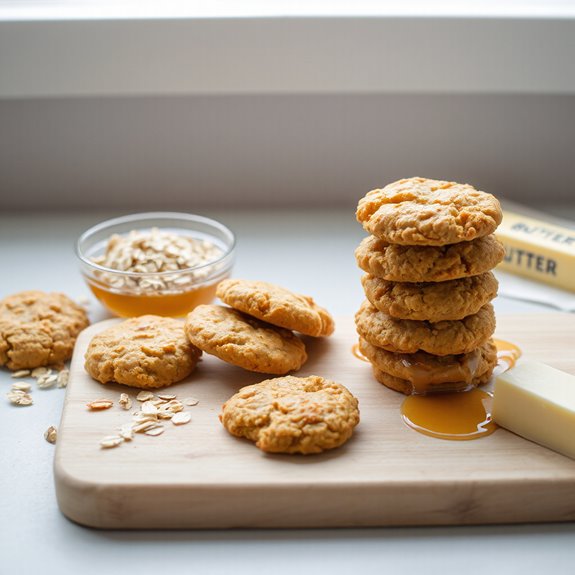
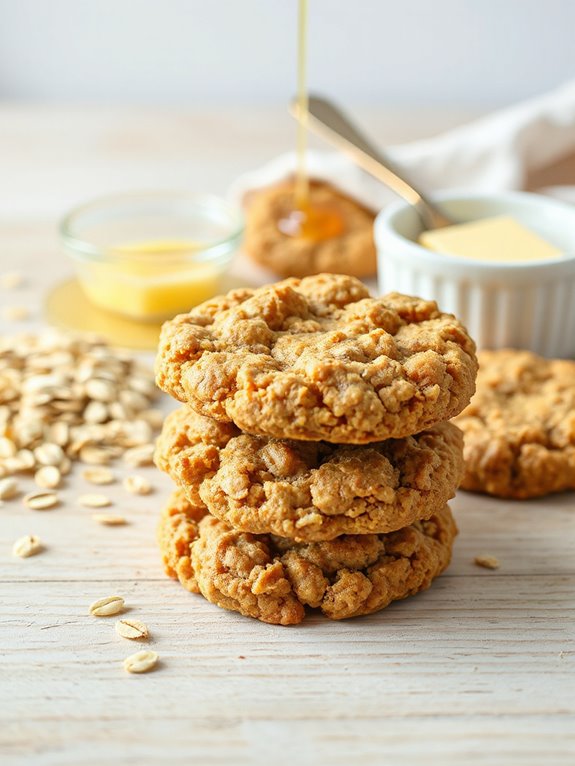
Craving a taste of golden, crispy perfection? Anzac biscuits, those beloved oatmeal cookies, are surprisingly simple to make, and impossibly addictive.
Get ready to discover an easy recipe that transforms basic ingredients into a batch of pure, irresistible magic.
Ingredients
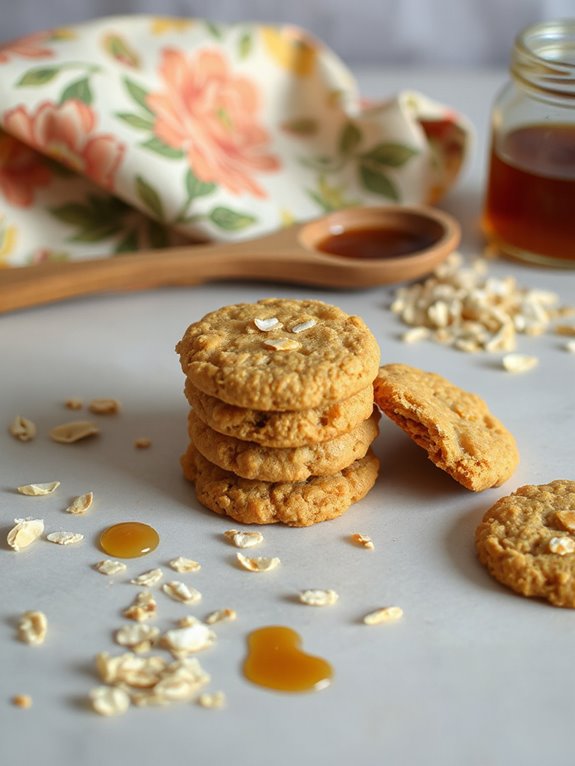
Okay, let's explore into what you'll need to whip up these awesome Anzac biscuits! First, you'll want a cup of plain flour—all-purpose does the trick! Next, grab a cup of rolled oats, then a cup of unsweetened desiccated coconut because we're going for that classic Aussi flavor.
You'll need ¾ cup of white sugar, preferably caster sugar, though even superfine granulated sugar will do! Now, for the binding agent: 150g (aka 5oz) of unsalted butter. Plus, 4 tablespoons of irresistible golden syrup—it's what gives them that lovely, rich color and taste. If you can't find any, a combo of molasses and honey works wonders!
Lastly, one teaspoon of baking soda because some simple recipes like shortbread, can be made with less ingredients. These items are pretty easy to collect.
Instructions
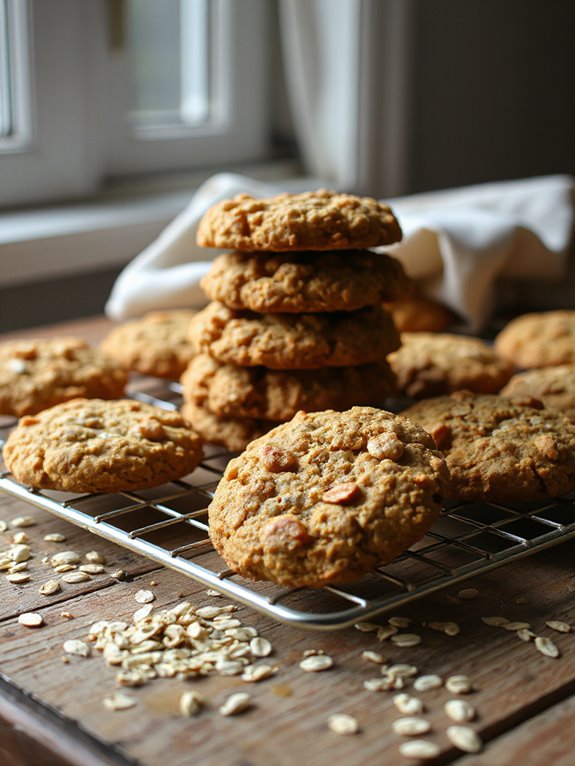
Let's make some biscuits! First, I preheat my oven to 180°C. While it's heating, I line two baking trays with baking paper. Then, in a bowl, I mix one cup flour, one cup oats, one cup coconut, and ¾ cup sugar. These cookies are similar to a brown butter oatmeal cookie but with a unique, delicious twist. Now, for the fun part! In a saucepan, I combine 150g butter and 4 tbsp golden syrup over medium heat until the butter melts. I add 1 tsp baking soda—watch it fizz!
- Mix the wet and dry ingredients.
- Roll into 1-tablespoon balls and flatten.
- Bake for 15 minutes, swapping trays to guarantee even baking.
Now, I let them cool on the trays for 5 minutes—patience, I know! Then, I transfer them to a wire rack. Trust me, they'll harden as they cool! Soon enough, you will have a delicious batch of golden, crispy Anzac biscuits to call your own.
Notes
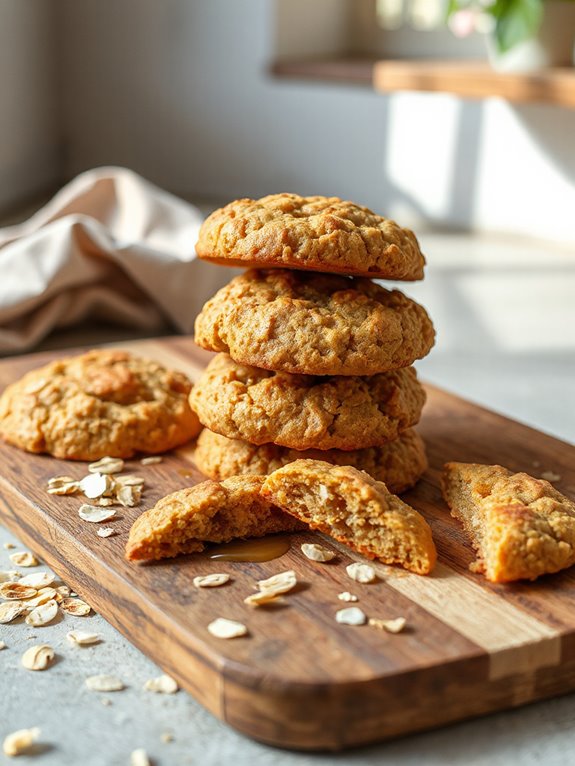
Now, let's talk notes! Golden syrup is amber-colored and sweet—a baking staple in Australia and the UK. It's got this caramel-like flavor that's just divine! If you can't find it, don't sweat it. Mix 1 tablespoon of light molasses with 3 tablespoons of honey or light corn syrup—or try treacle instead of molasses for a little twist!
Oats are quirky—different brands absorb differently. Your dough should be firm enough to roll, but still pliable. Too sticky? Add flour. Too dry? Melt more butter! Don't overthink it; this dough is super forgiving.
Want to keep these biscuits crisp? Store them in an airtight container, and they will stay fresh for about a week. If they go soft, you can always crisp them up in the oven for 5 minutes at 350°F. It's like magic!
Nutrition
If you're curious about what one of these Anzac biscuits brings to the table, nutritionally speaking, I've got the lowdown for you. Each biscuit, weighing in at about 19g, carries around 74 calories!
I know what you're thinking, are you going to memorize all of this? Of course not. But it's nice to be informed, right? Here are a few highlights:
- They've got about 14.3g of carbs – that's your energy.
- You'll find around 1.1g of protein, so it's a little boost.
- There's also about 1.6g of fat, with 1.2g of that being saturated.
Don't forget the sugar, clocking in at 6.9g per biscuit. And, yes, I know it sounds like a lot, but hey, it's a treat! Plus, there's a tiny bit of iron and fiber in there, too. So, while it's not a health food, it's a yummy one and a better one!
Short Recipe Version
Prep Time: 15 minutes
Cook Time: 15-20 minutes
Serving Size: Approximately 20 biscuits
Ingredients:
1 cup rolled oats
1 cup plain flour
1 cup sugar
½ cup desiccated coconut
125g butter
2 tablespoons golden syrup
1 teaspoon baking soda
2 tablespoons boiling water
Instructions:
- Preheat oven to 160°C (320°F).
- Combine oats, flour, sugar, and coconut in a bowl.
- Melt butter and golden syrup in a saucepan.
- Mix baking soda with boiling water; add to melted butter mixture.
- Pour wet ingredients into dry ingredients; mix well.
- Roll tablespoons of mixture into balls and place on baking trays.
- Flatten slightly.
- Bake for 15-20 minutes, or until golden brown.
- Cool completely on trays.
Nutrition Information (per biscuit – estimated):
Calories: 130
Fat: 7g
Saturated Fat: 4.5g
Carbohydrates: 16g
Sugar: 9g
Protein: 1.5g
