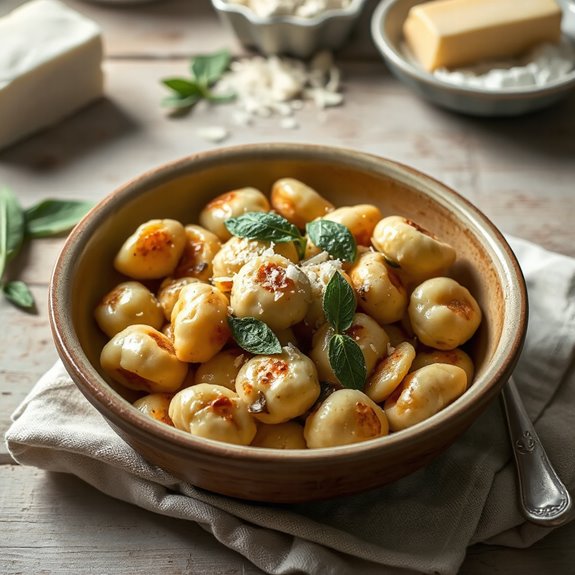
Craving pillowy, light gnocchi but short on time? In just 30 minutes, you can create incredibly delicious, homemade ricotta gnocchi that rivals restaurant quality. Get ready to impress yourself with this surprisingly simple recipe!
Gather Your Ingredients
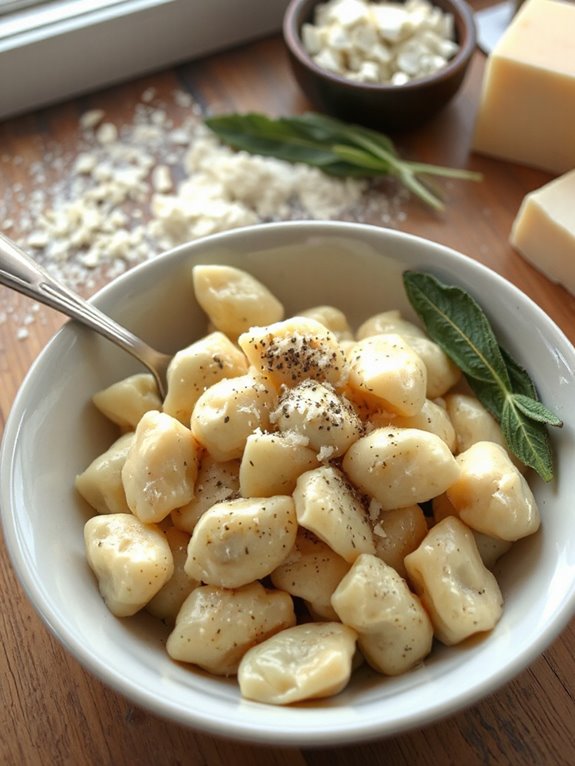
Okay, let's explore into gathering everything you'll need for this awesome homemade ricotta gnocchi! You're gonna need ricotta—make sure it's full-fat, not the spreadable kind; we want lumpy, not creamy, got it? About 250g or 8oz should do the trick.
Next up, parmesan cheese! Grab 3/4 cup—that's 75g—and, yeah, freshly grated is a must because it melts better– trust me on this!
Eggs, eggs, eggs; one large egg—around 55 to 60g—plus an extra yolk, because why not? Don't throw out that egg white, though! You can scramble it later!
Salt and pepper–a pinch of each–duh! Now, flour – about 3/4 to 1 cup of all-purpose, but, hey, don't pour it all in at once! We'll keep extra for dusting.
Making the Gnocchi Dough
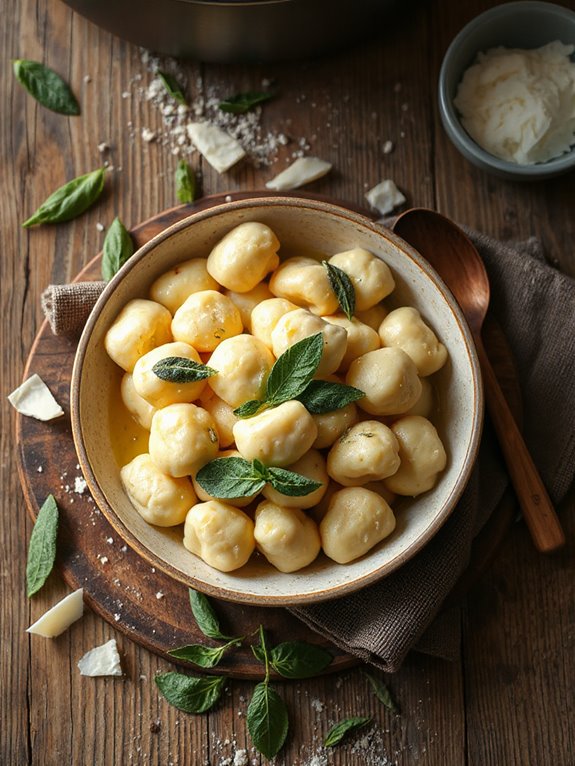
Now, let's make the gnocchi dough and it's easier than you think! Grab a big bowl, and throw in that ricotta, parmesan, egg, egg yolk, salt, and pepper. Give it a good mix with a spatula or wooden spoon – smear it up the wall if you need to!
Next, the flour! Add ¾ cup and gently mix until it's just combined. We want a sticky dough, not a batter – think "mound-able," not pour-able. Remember: stickier dough means softer gnocchi, my friend! A rich and flavorful creaminess, similar to a well-made cheese sauce, can elevate even the simplest dough.
Now, if your dough is still too wet, add a tablespoon of flour at a time, but don't go overboard. It's a balancing act, but you'll get it. You don't want to wind up with hockey pucks instead of fluffy clouds! Believe me, I've been there (haha).
Shaping and Cutting the Gnocchi
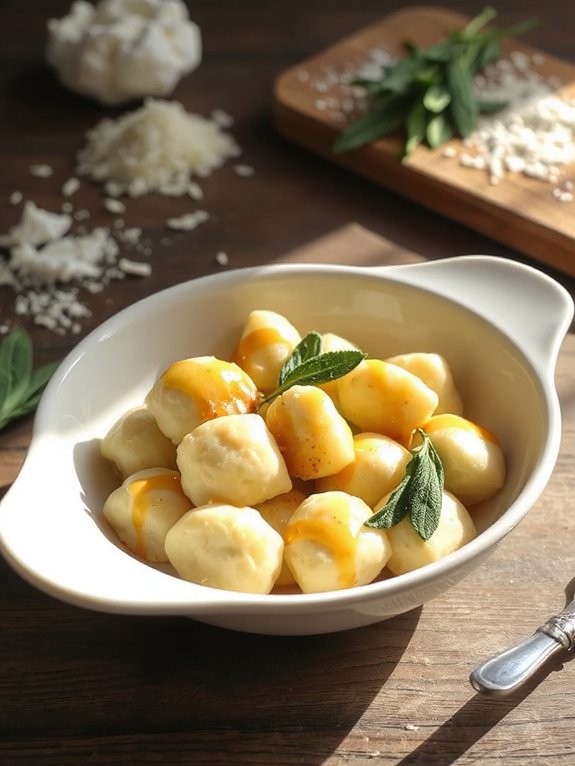
With our dough mixed and ready, the next step is some hands-on fun, and we're going to get this gnocchi shaped up!
First, sprinkle some flour on your work surface – this'll prevent sticking. Scrape the dough onto it and form a disc about 1 inch thick. Now, cut that disc into eight wedges – like you'd cut a pizza!
Next, roll each wedge into a long, thin log – about 10 inches long and 1/2 inch wide. It's kinda like playing with Play-Doh, but tastier (don't be tempted to eat it!).
We're almost there! Cut each log into little pieces, each about 3/5 of an inch long. I usually cut several logs at a time 'cause I'm efficient like that. If you want to freeze them for later, this is the time. Just lay them flat, tumble into a container, and freeze!
Cooking the Gnocchi
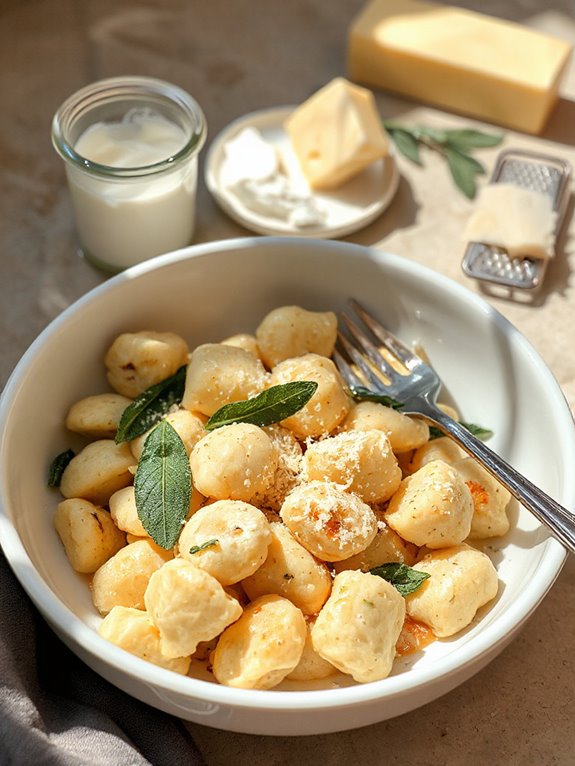
Once you've shaped our gnocchi, it's time to cook 'em up – and trust me, it's easier than catching a greased pig! First, get a large pot of water boiling—like, a full-on, rolling boil. I'm talkin' vigorously bubbling!
Now, gently tumble the gnocchi into the boiling water, ensuring not to overcrowd the pot. Cook 'em for about 2 1/2 minutes, or until they start floating to the surface. Inspired by the baked feta pasta, you can also season the boiling water with a touch of Mediterranean herbs to subtly infuse the gnocchi with flavor. They'll be bobbing around like little, delicious clouds!
Once they're floating happily for around 30 seconds, they're done! Grab a mug and reserve about 1 cup of that starchy cooking water. Don't throw it all out! Then, carefully drain the gnocchi. We're almost there, I promise!
Sauce It Up
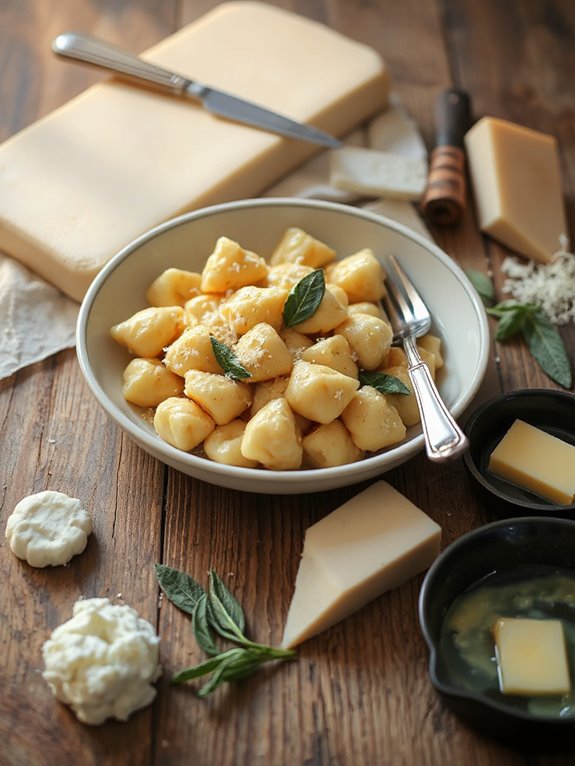
I've got two awesome sauces that make these gnocchi sing, so let's get into flavoring these babies up!
First, we have browned butter. It's simple; melt 4 tablespoons of unsalted butter in a pan over medium-high heat and let it bubble until it turns to a nice brown color – nutty and yum! Add 1/4 teaspoon of salt and pepper to enhance the flavor. Next, add your cooked gnocchi along with 1/2 cup of reserved pasta water, and cook for 1 minute to coat and enjoy!
Or, you can go with the classic tomato sauce. Heat 2 tablespoons of olive oil then saute 3 minced garlic cloves and 1/2 finely diced onion in the oil. Stir in 28oz of crushed tomatoes, 1 tablespoon of mixed Italian herbs and 1 teaspoon of salt and pepper. Let it simmer for about 10 minutes and then add the gnocchi and 1/2 cup of reserved pasta water. What's not to love?!
Short Recipe Version
30-Minute Homemade Ricotta Gnocchi
Prep time: 10 minutes
Cook time: 5 minutes
Servings: 2
Ingredients:
- 1 cup ricotta cheese
- 1/2 cup all-purpose flour, plus more for dusting
- 1/4 cup grated Parmesan cheese
- 1 large egg
- 1/4 teaspoon salt
- Pinch of nutmeg
Instructions
- In a bowl, combine ricotta, flour, Parmesan, egg, salt, and nutmeg.
- Lightly flour a clean surface. Gently roll the dough into a long rope about 1/2 inch thick.
- Cut the rope into 3/4-inch pieces.
- Bring a pot of salted water to a boil.
- Drop the gnocchi into the boiling water. Cook for 2-3 minutes, or until they float to the surface.
- Gently remove the gnocchi with a slotted spoon and toss with your favorite sauce.
Nutrition Information (per serving):
| Nutrient | Amount |
|---|---|
| Calories | 350 |
| Protein | 20g |
| Fat | 20g |
| Saturated Fat | 12g |
| Cholesterol | 120mg |
| Sodium | 500mg |
| Carbohydrates | 20g |
| Fiber | 1g |
| Sugar | 2g |
